crwdns2935425:04crwdne2935425:0
crwdns2931653:04crwdne2931653:0


Remove Top Panel
-
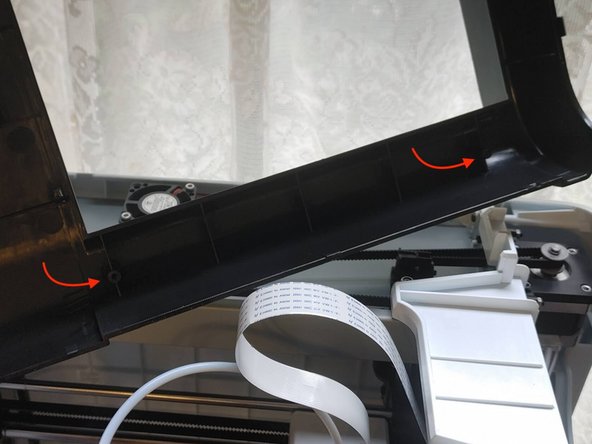
There are two black screws connecting the top panel to the front panel, one at each side of the door (indicated by index fingers). Remove these with your phillips screw driver and put them in your bowl so you don't lose them.
-
The sides and back edge of the top panel each have three push clips. You'll need to take a plastic spudger or flathead screwdriver and push on the base of each to release it.
-
At the front edge of the top panel are four tabs, two over the door and two over the control screen. These don't require any prying, and will just slip out once the push clips release.
crwdns2944171:0crwdnd2944171:0crwdnd2944171:0crwdnd2944171:0crwdne2944171:0