crwdns2935425:05crwdne2935425:0
crwdns2931653:05crwdne2931653:0

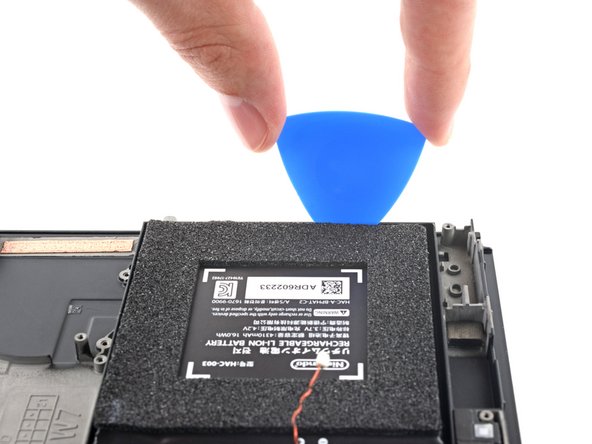
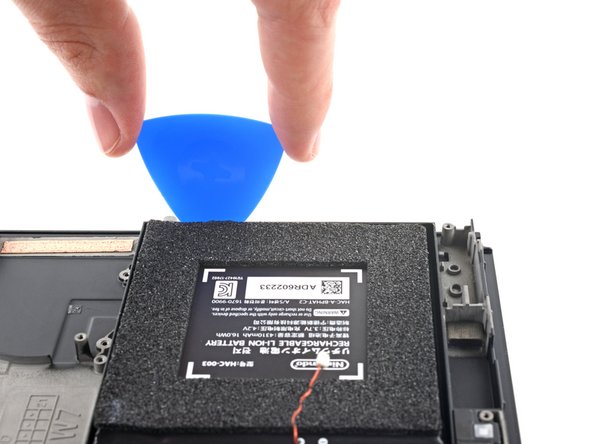


Separate the battery's adhesive
-
Insert an opening pick into the gap between the battery and the wall of the battery well.
-
Carefully dig the tip of the opening pick underneath the battery and slide it along the edge to begin slicing the adhesive.
crwdns2944171:0crwdnd2944171:0crwdnd2944171:0crwdnd2944171:0crwdne2944171:0