crwdns2933423:0crwdne2933423:0

Nintendo Switch OLED Displayeinheit tauschen

crwdns2936315:0crwdne2936315:0
crwdns2936319:0crwdne2936319:0
crwdns2931653:05crwdne2931653:0
Nintendo Switch OLED Model Screen OLED Assembly Replacement, Separate the battery's adhesive: crwdns2935265:00crwdnd2935265:01crwdnd2935265:03crwdne2935265:0 Nintendo Switch OLED Model Screen OLED Assembly Replacement, Separate the battery's adhesive: crwdns2935265:00crwdnd2935265:02crwdnd2935265:03crwdne2935265:0 Nintendo Switch OLED Model Screen OLED Assembly Replacement, Separate the battery's adhesive: crwdns2935265:00crwdnd2935265:03crwdnd2935265:03crwdne2935265:0
Separate the battery's adhesive
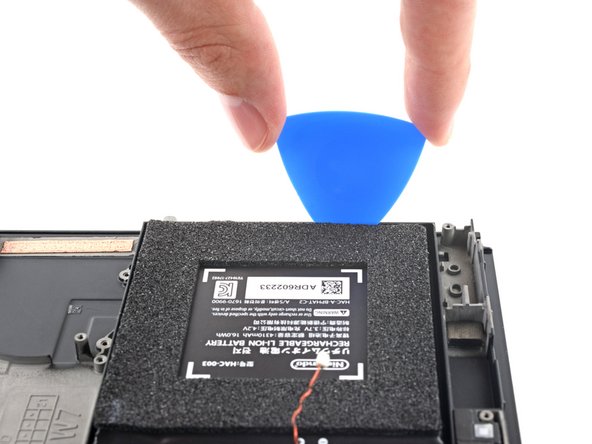
  • Insert an opening pick into the gap between the battery and the wall of the battery well.

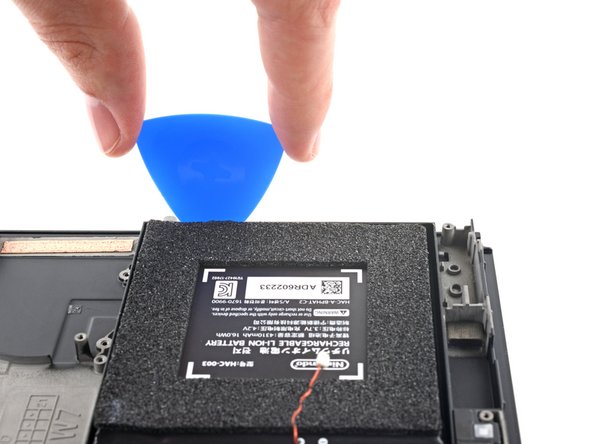
  • Carefully dig the tip of the opening pick underneath the battery and slide it along the edge to begin slicing the adhesive.

  • Take care not to puncture or bend the battery with your tool—a punctured or bent battery may leak dangerous chemicals or cause a fire.

Setze ein Plektrum in den Spalt zwischen dem Akku und dem Rand des Akkufachs ein.

Schiebe die Spitze des Plektrums vorsichtig unter den Akku und beginne an der Kante den Akku abzulösen.

Achte darauf, dass der Akku nicht angestochen oder verbogen wird. Ein beschädigter Akku kann gefährliche Chemikalien verlieren oder in Brand geraten.

crwdns2944171:0crwdnd2944171:0crwdnd2944171:0crwdnd2944171:0crwdne2944171:0