crwdns2931527:0crwdnd2931527:0crwdnd2931527:0crwdnd2931527:0crwdne2931527:0
crwdns2935425:014crwdne2935425:0
crwdns2931653:014crwdne2931653:0

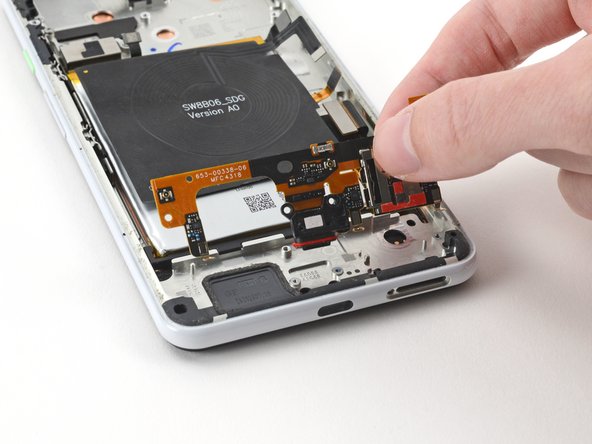


Remove the charging assembly
-
Remove the charging assembly from the frame.
-
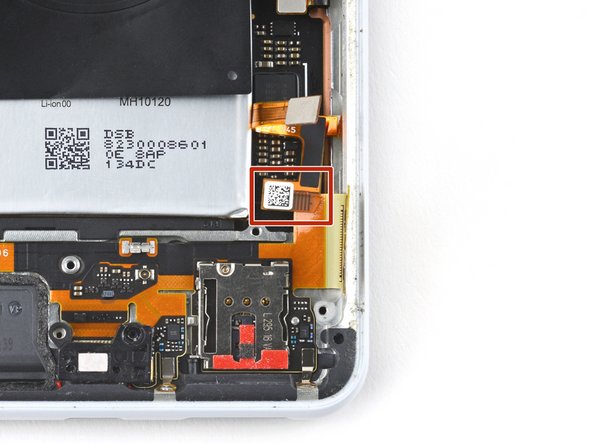
The right squeeze sensor cable is adjacent to the bottom right corner of the battery.
crwdns2944171:0crwdnd2944171:0crwdnd2944171:0crwdnd2944171:0crwdne2944171:0