crwdns2931529:0crwdnd2931529:0crwdnd2931529:0crwdnd2931529:06crwdnd2931529:0crwdne2931529:0
crwdns2935425:08crwdne2935425:0
crwdns2931653:08crwdne2931653:0


-
The screen of the Google Pixel 6 is not only held in place by adhesive but also small plastic clips. If your opening pick gets blocked during the screen removal procedure, it means you inserted your pick too deep underneath the screen. Only insert the tip of the opening pick (3-4 mm) when slicing the display adhesive.
-
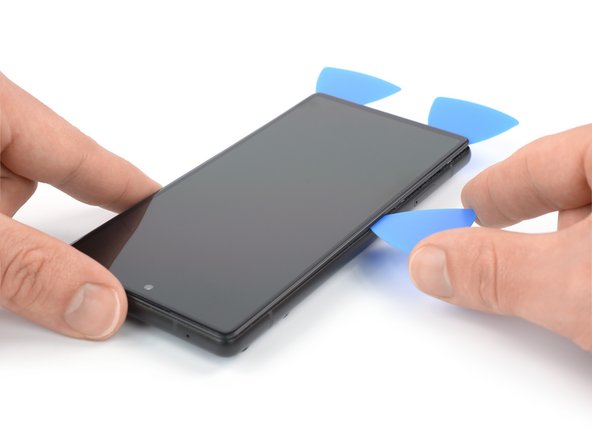
Insert a third opening pick underneath the bottom left corner of the screen.
-
Slide the opening pick along the left edge of the screen to slice the adhesive.
-
Leave the opening pick in the top left corner to prevent the adhesive from resealing.
crwdns2944171:0crwdnd2944171:0crwdnd2944171:0crwdnd2944171:0crwdne2944171:0