crwdns2933423:0crwdne2933423:0

Changer le châssis frontal d'une Nintendo Switch

crwdns2931529:0crwdnd2931529:0crwdnd2931529:0crwdnd2931529:02crwdnd2931529:0crwdne2931529:0

crwdns2936315:0crwdne2936315:0
crwdns2936317:0crwdne2936317:0
crwdns2931653:027crwdne2931653:0
Nintendo Switch Front Frame Replacement: crwdns2935265:00crwdnd2935265:01crwdnd2935265:03crwdne2935265:0 Nintendo Switch Front Frame Replacement: crwdns2935265:00crwdnd2935265:02crwdnd2935265:03crwdne2935265:0 Nintendo Switch Front Frame Replacement: crwdns2935265:00crwdnd2935265:03crwdnd2935265:03crwdne2935265:0
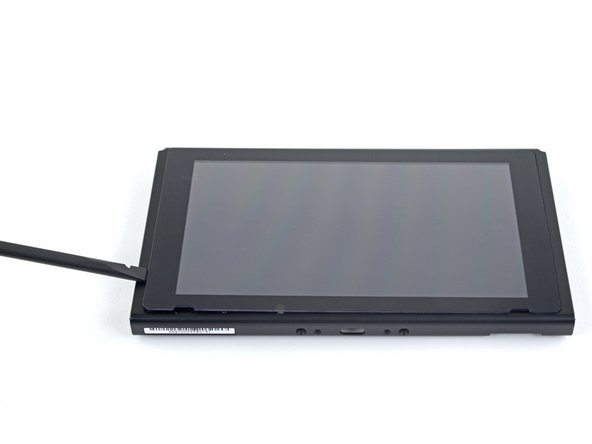
  • Heat the right edge of the screen for around two minutes to help soften the adhesive.

  • Place the flat end of a spudger into the gap along the left edge of the screen.

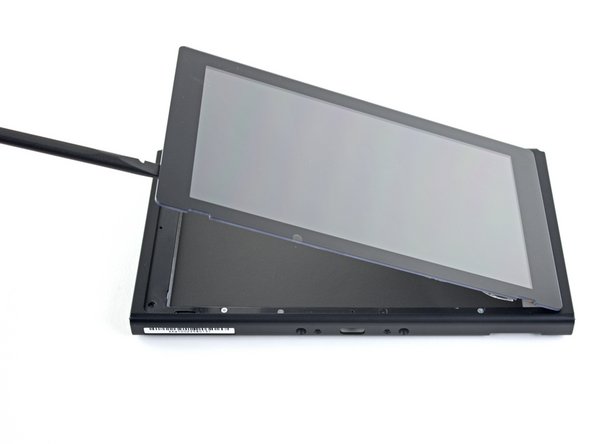
  • Carefully and slowly lift the left edge of the screen, opening it like a book.

Chauffez le bord droit de l'écran pendant environ deux minutes pour aider à ramollir l'adhésif.

Placez l'extrémité plate d'une spatule dans l'espace le long du bord gauche de l'écran.

Soulevez délicatement et lentement le bord gauche de l'écran, en l'ouvrant comme un livre.

crwdns2944171:0crwdnd2944171:0crwdnd2944171:0crwdnd2944171:0crwdne2944171:0