crwdns2931529:0crwdnd2931529:0crwdnd2931529:0crwdnd2931529:04crwdnd2931529:0crwdne2931529:0
crwdns2935425:020crwdne2935425:0
crwdns2931653:020crwdne2931653:0


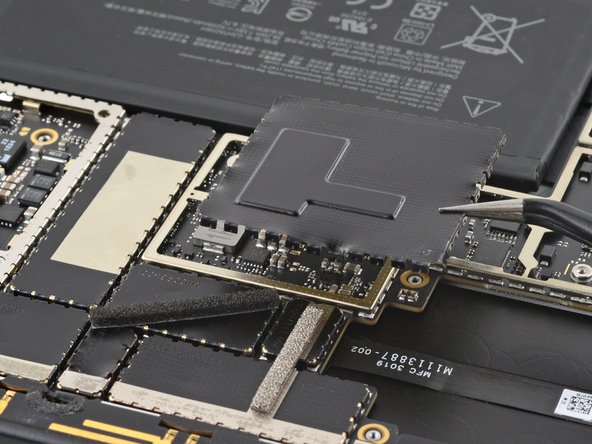


Remove the two shields
-
Insert one tine of a pair of pointed tweezers under a corner of the square shield.
-
Lift up the corner to detach it from the frame.
-
Continue to pry up additional areas around the edges of the shield until it detaches from the frame.
-
Remove the square shield.
crwdns2944171:0crwdnd2944171:0crwdnd2944171:0crwdnd2944171:0crwdne2944171:0