crwdns2935425:03crwdne2935425:0
crwdns2931653:03crwdne2931653:0


Screw Removal
-
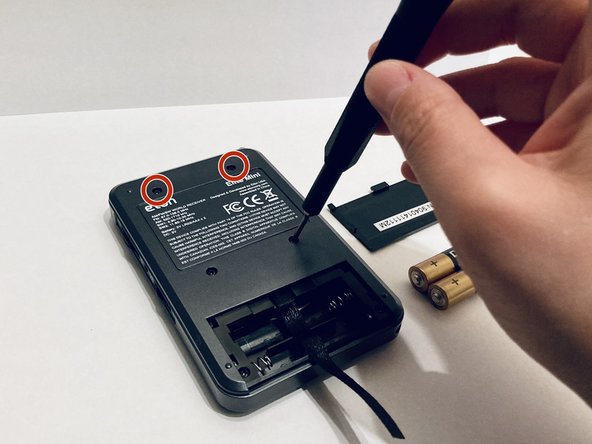
Place the radio face-down so the back panel is visible. Then unscrew the four screws located on the top and middle of the back panel.
-
The two top screws are smaller then the two middle screws. If you think you might want to put this back together again it's important to remember where to put each size screw so as to not mess up any internal components.
-
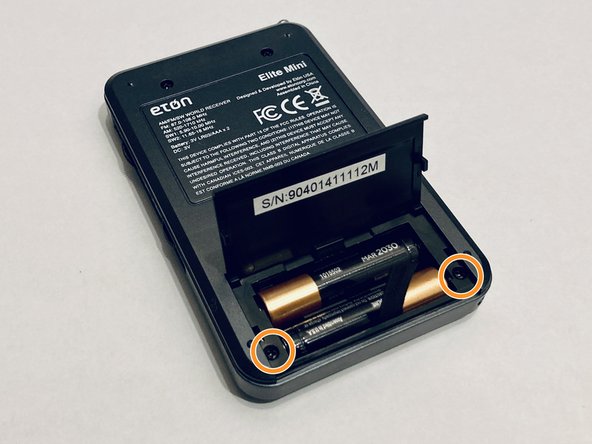
There are two screws inside the battery compartment that also need to be unscrewed. The #000PH will work for this step too. These screws are just as long as the middle screws from the back plate.
crwdns2944171:0crwdnd2944171:0crwdnd2944171:0crwdnd2944171:0crwdne2944171:0