crwdns2935425:07crwdne2935425:0
crwdns2931653:07crwdne2931653:0

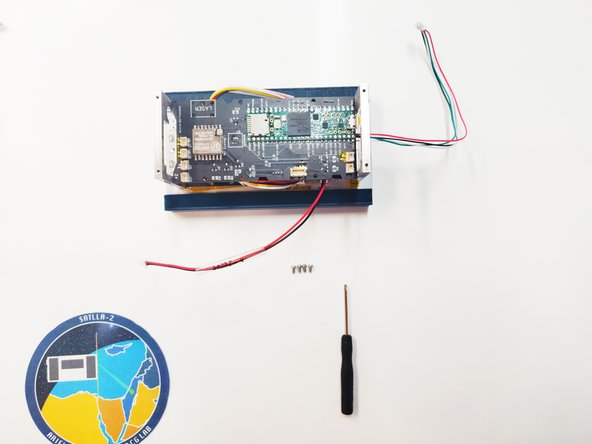
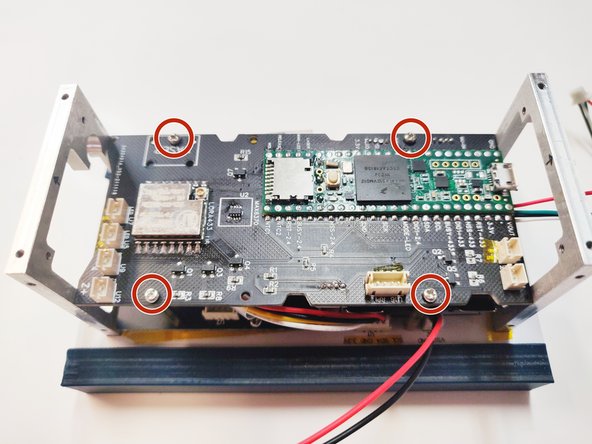


Main Board integration
-
Connect PM-1 cable to the marked red square JST housing.
-
Connect PM-2 cable to the marked blue square JST housing.
-
Insert the main board on top of the spacers, use 4 M2x5mm bolts and phillips screwdriver to tight the Main Board to the spacers.
crwdns2944171:0crwdnd2944171:0crwdnd2944171:0crwdnd2944171:0crwdne2944171:0