crwdns2935425:04crwdne2935425:0
crwdns2931653:04crwdne2931653:0

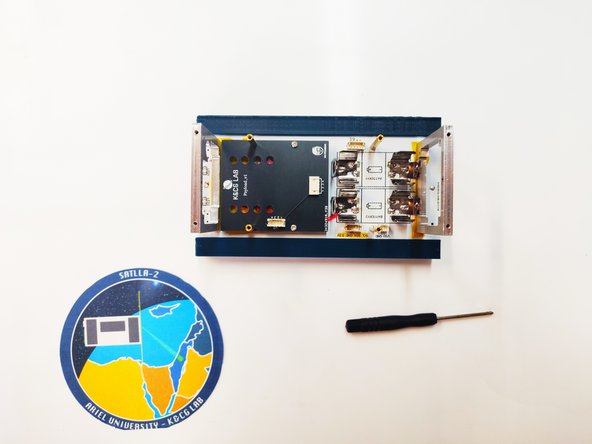


Battery assembly part-I
-
Before inserting the batteries, there is a crucial step. There are two micro switches, each microswitch control different power paths, Battery power path, and Solar power path.
-
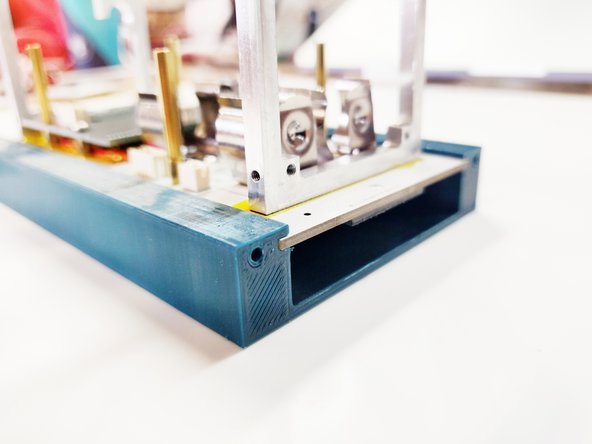
For safety reasons after assembling the Power Board and the Payload Board, you need to insert the Power Board with the Payload Board facing toward the POD
crwdns2944171:0crwdnd2944171:0crwdnd2944171:0crwdnd2944171:0crwdne2944171:0