crwdns2935425:03crwdne2935425:0
crwdns2931653:03crwdne2931653:0

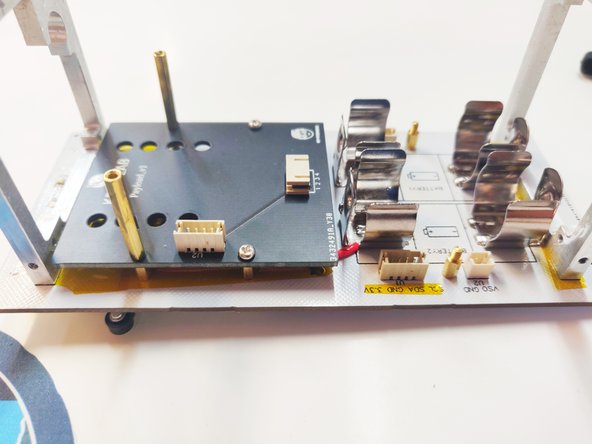


Payload Board assembly
-
Take 2 M2x5mm bolts and 2 female to female long spacers.
-
Place the Payload Board where the "KC&G LAB" logo is facing upward and pointing to the frame with the 3/4 circle cut.
-
Screw the M2x5 bolts to the right side holes of the Payload Board.
-
Screw the female to female long spacers to the left side of the Payload Board.
-
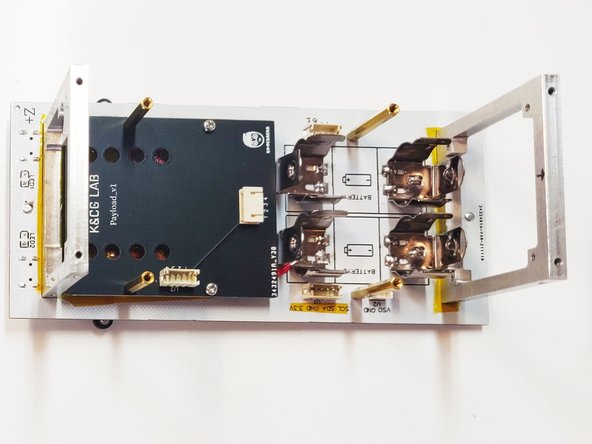
Take another 2 M2x5mm bolts, 2 female to female long spacers and 2 female to male short spacers.
-
On the middle of the battery holder on each side screw, the first bolt and a short female to male spacer then screw on the top of the short spacer the long female to a female spacer
crwdns2944171:0crwdnd2944171:0crwdnd2944171:0crwdnd2944171:0crwdne2944171:0