crwdns2935425:07crwdne2935425:0


-
Insert the replacement Alternator into place. You may need to tap (not hit) with a hammer or mallet until the holes align. Screw the bottom bolt in as far as you can by hand as you have little ratcheting space. Tighten up both bolts.
-
Attach the B+ cable and tighten the 10mm retaining bolt. Plug in the three wire connector. Clip the wiring harness onto the mounting point.
-
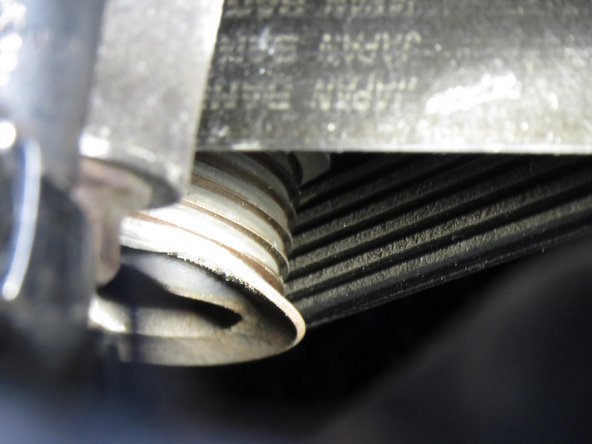
Important: Using a 19mm socket and a long wrench, compress the tensioner and place the Belt over the Alternators pully wheel. Release and check the belt is fully on all pully wheels, use a flashlight if necessary. Failing to do so can shred your belt. Check Service manual PDF 2, page 313 if you need more info regarding belt fitment.
crwdns2944171:0crwdnd2944171:0crwdnd2944171:0crwdnd2944171:0crwdne2944171:0