crwdns2933423:0crwdne2933423:0

Toyota Celica GT / GTS Alternator Troubleshooting and Replacement

crwdns2936315:0crwdne2936315:0
crwdns2936323:0crwdne2936323:0
crwdns2931653:05crwdne2931653:0
Toyota Celica GT / GTS Alternator Troubleshooting and Replacement, Removing the alternator: crwdns2935265:00crwdnd2935265:01crwdnd2935265:03crwdne2935265:0 Toyota Celica GT / GTS Alternator Troubleshooting and Replacement, Removing the alternator: crwdns2935265:00crwdnd2935265:02crwdnd2935265:03crwdne2935265:0 Toyota Celica GT / GTS Alternator Troubleshooting and Replacement, Removing the alternator: crwdns2935265:00crwdnd2935265:03crwdnd2935265:03crwdne2935265:0
Removing the alternator
  • Unclip and remove the wire from a holding point on the side of the Alternator.

  • Unplug the 3 wire connector from the side of the alternator. If you did not B+ cable to perform the continuity test, disconnect it now with a 10mm socket.

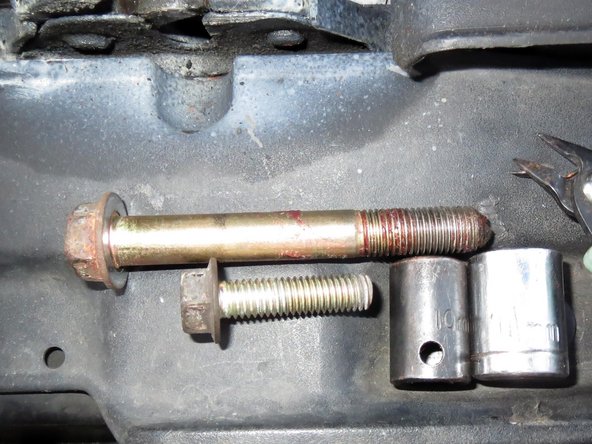
  • Remove the 12mm bolt holding the top of the alternator in place, then remove the long 14mm bolt. You will need patience to racket it out as there is not a lot of room to move your wrench thanks to the A/C piping!

crwdns2935429:0crwdne2935429:0

crwdns2935429:0crwdne2935429:0

crwdns2935429:0crwdne2935429:0

crwdns2944171:0crwdnd2944171:0crwdnd2944171:0crwdnd2944171:0crwdne2944171:0