crwdns2933423:0crwdne2933423:0

iPhone 13 배터리 교체

crwdns2936315:0crwdne2936315:0
crwdns2936325:0crwdne2936325:0
crwdns2931653:08crwdne2931653:0
iPhone 13 Battery Replacement: crwdns2935265:00crwdnd2935265:01crwdnd2935265:03crwdne2935265:0 iPhone 13 Battery Replacement: crwdns2935265:00crwdnd2935265:02crwdnd2935265:03crwdne2935265:0 iPhone 13 Battery Replacement: crwdns2935265:00crwdnd2935265:03crwdnd2935265:03crwdne2935265:0
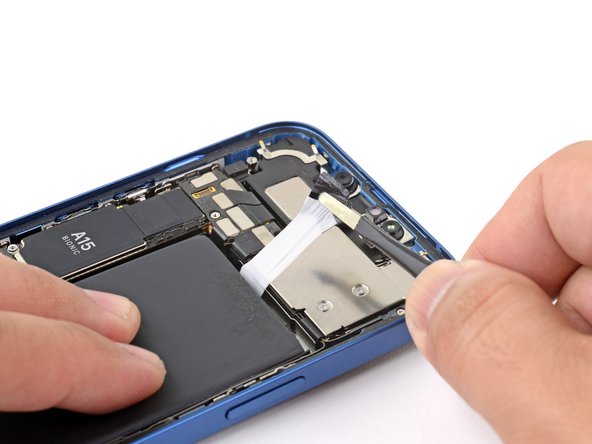
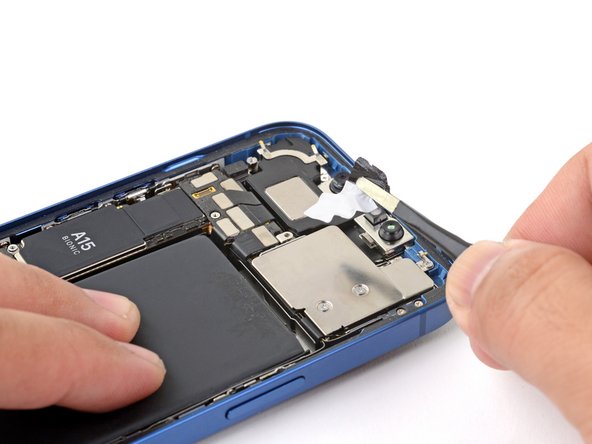
  • Lightly place two fingers on the center of the battery to prevent it from flinging out while removing the final adhesive strip.

  • Don't press down on the battery with excessive force.

  • Use a pair of blunt tweezers to pull and stretch the remaining tab to remove the final adhesive strip holding the battery in place.

  • If you removed all the adhesive strips successfully, skip the next step.

  • Otherwise, continue with the next step below.

마지막 접착 스트립을 제거할 때 배터리가 날아가지 않도록 두 손가락을 배터리 중앙에 살짝 얹어 놓으세요.

배터리를 과한 힘으로 누르지 마세요.

뭉툭한 핀셋을 사용하여 배터리를 제자리에 고정하는 접착 스트립을 제거하기 위해서 나머지 탭을 당기고 늘이세요.

모든 접착 스트립을 성공적으로 제거했으면, 다음 단계는 건너뛰세요.

그렇지 않으면, 아래의 다음 단계로 진행하세요.

crwdns2944171:0crwdnd2944171:0crwdnd2944171:0crwdnd2944171:0crwdne2944171:0