crwdns2935425:02crwdne2935425:0
crwdns2931653:02crwdne2931653:0


-
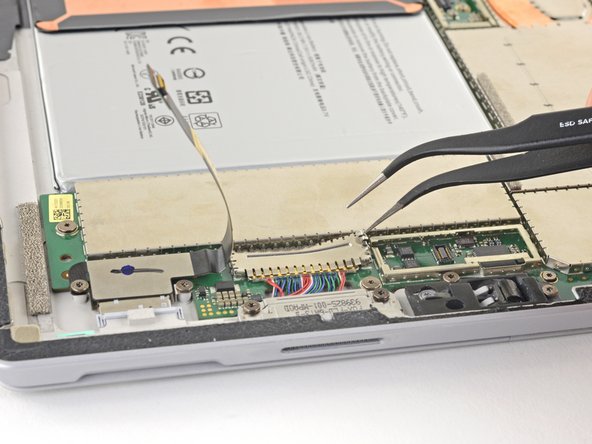
Insert one point of a pair of tweezers into a gap in the edge of the EMI shield covering the charging assembly cable connector.
-
Use the tweezers to pry the EMI shield away from the motherboard as much as you can without bending it.
-
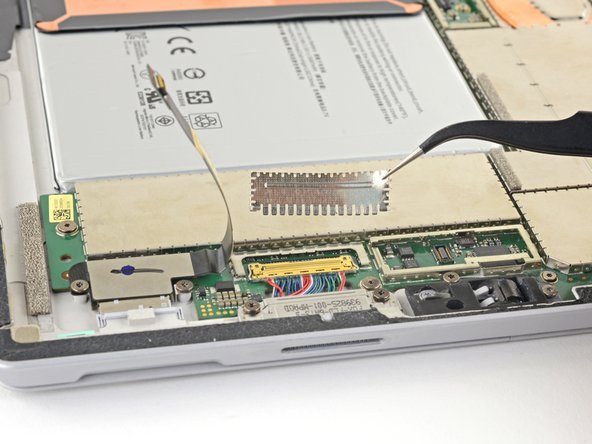
Remove the shield.
| - | [* black] Insert one point of a pair of tweezers into a gap in the edge of the EMI shield covering the charging assembly cable connector. |
|---|---|
| + | [* black] Insert one point of a pair of [product|IF145-020|tweezers] into a gap in the edge of the EMI shield covering the charging assembly cable connector. |
| [* black] Use the tweezers to pry the EMI shield away from the motherboard as much as you can without bending it. | |
| [* icon_caution] Try not to deform the shield too much—you will need to reinstall it during reassembly. | |
| [* black] Remove the shield. |
crwdns2944171:0crwdnd2944171:0crwdnd2944171:0crwdnd2944171:0crwdne2944171:0