crwdns2935425:03crwdne2935425:0
crwdns2931653:03crwdne2931653:0

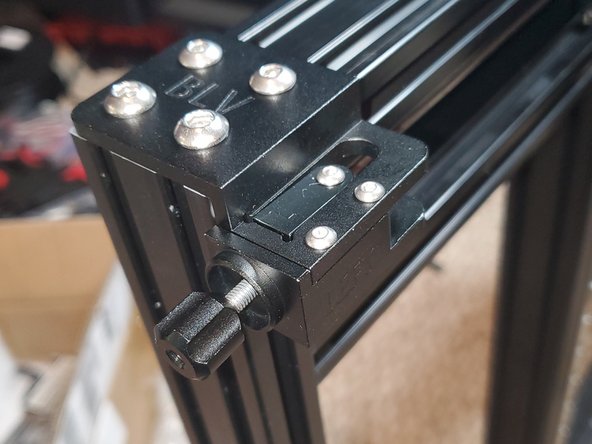


Left Tensioner Assembly
-
Mount the assembly to the left top of the frame using 2x M5x8 button head screws, 2x M5 T-Nuts and 2x M6x10 button head screws. Once the plate is straight tighten the screws
-
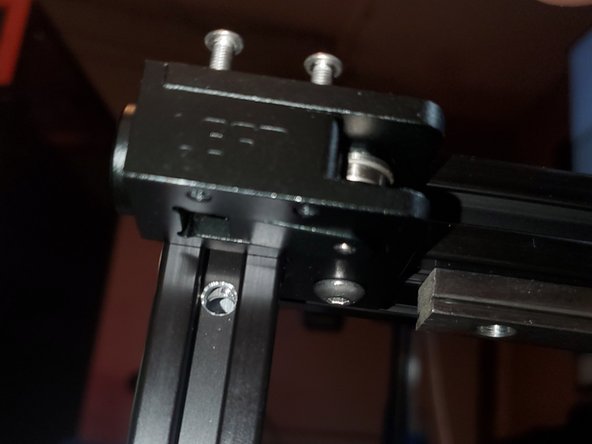
Tighten the M3x18 button head screws
-
Secure the bottom of the tensioner to the underside of the 2040 with a M5x8 button head screw and M5 T-Nut
crwdns2944171:0crwdnd2944171:0crwdnd2944171:0crwdnd2944171:0crwdne2944171:0