crwdns2933423:0crwdne2933423:0

Microsoft Surface Laptop 3 13.5インチ ヒートシンクとファンの交換

crwdns2931529:0crwdnd2931529:0crwdnd2931529:0crwdnd2931529:03crwdnd2931529:0crwdne2931529:0

crwdns2936315:0crwdne2936315:0
crwdns2936323:0crwdne2936323:0
crwdns2931653:05crwdne2931653:0
Microsoft Surface Laptop 3 13.5" Heatsink and Fan Replacement: crwdns2935265:00crwdnd2935265:01crwdnd2935265:03crwdne2935265:0 Microsoft Surface Laptop 3 13.5" Heatsink and Fan Replacement: crwdns2935265:00crwdnd2935265:02crwdnd2935265:03crwdne2935265:0 Microsoft Surface Laptop 3 13.5" Heatsink and Fan Replacement: crwdns2935265:00crwdnd2935265:03crwdnd2935265:03crwdne2935265:0
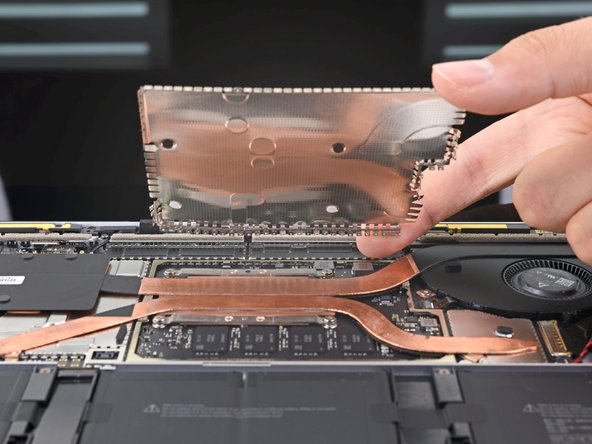
  • Once the top edge is loose, use your fingers to grip the top of the shield and pull it up and away from the heatsink to release the remainder of the shield.

  • Try not to deform the shield too much—you'll need to reinstall it during reassembly.

  • Completely remove the heatsink shield.

上端が緩んだら、指でシールドの上部を掴み、ヒートシンクから離して引き上げると、シールドの残りの部分が外れます。

シールドを変形させないようにご注意ください。再組み立ての際にシールドを再装着する必要があります。

ヒートシンクシールドを完全に取り出します。

crwdns2944171:0crwdnd2944171:0crwdnd2944171:0crwdnd2944171:0crwdne2944171:0