crwdns2931529:0crwdnd2931529:0crwdnd2931529:0crwdnd2931529:03crwdnd2931529:0crwdne2931529:0
crwdns2935425:02crwdne2935425:0
crwdns2931653:02crwdne2931653:0


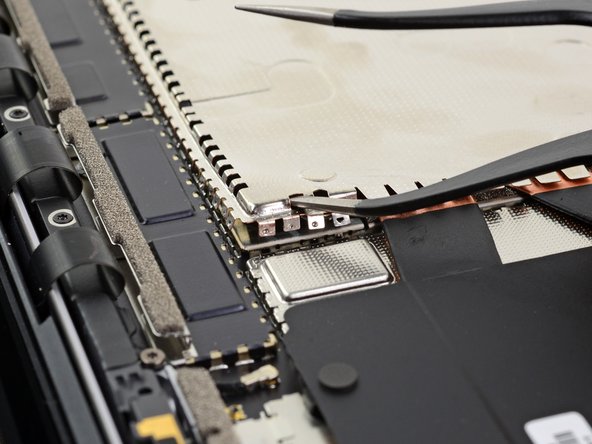


Remove the heatsink shield
-
Insert the tip of one arm of a sharp pair of tweezers into one of the holes near the top left corner of the heatsink shield.
-
Pull upwards to release the top left corner of the shield.
crwdns2944171:0crwdnd2944171:0crwdnd2944171:0crwdnd2944171:0crwdne2944171:0