crwdns2931527:0crwdnd2931527:0crwdnd2931527:0crwdnd2931527:0crwdne2931527:0
crwdns2935425:05crwdne2935425:0
crwdns2931653:05crwdne2931653:0


-
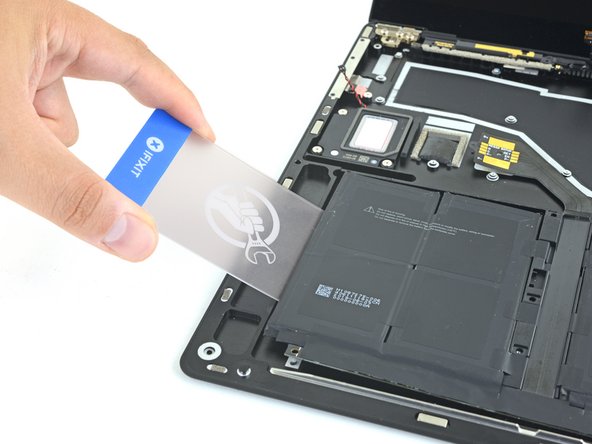
Slide a plastic card underneath the far left battery cell group to slice through the adhesive holding it to the case.
-
Wiggle the card from side to side as you insert it under the battery cells to fully separate all adhesive holding them in place.
-
Leave the plastic card temporarily underneath the cell to prevent it from re-adhering while you continue.
| [* icon_caution] Take care not to puncture or bend the battery with your tools—a punctured or bent battery may leak dangerous chemicals or cause a thermal event. | |
| - | [* black] Slide a plastic card underneath the far left battery cell group to slice through the adhesive holding it to the case. |
| + | [* black] Slide a [product|IF145-101|plastic card] underneath the far left battery cell group to slice through the adhesive holding it to the case. |
| [* icon_note] If you encounter significant resistance at any point during this procedure, pause and apply more adhesive remover. Wait for it to soak into the adhesive, and try again. | |
| [* black] Wiggle the card from side to side as you insert it under the battery cells to fully separate all adhesive holding them in place. | |
| [* black] Leave the plastic card temporarily underneath the cell to prevent it from re-adhering while you continue. |
crwdns2944171:0crwdnd2944171:0crwdnd2944171:0crwdnd2944171:0crwdne2944171:0