crwdns2935425:03crwdne2935425:0
crwdns2931653:03crwdne2931653:0

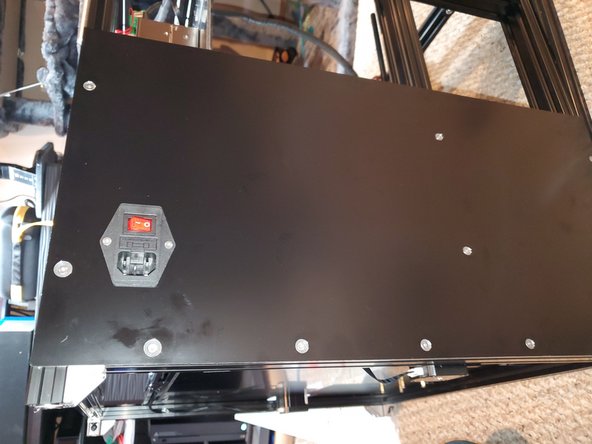


Left Side Panel
-
Find the Left side lower half panel that has the hole in it for the power input and switch.
-
Mount the switch to the side panel with 2x M3x8 countersunk screws and 2x M3 nuts
-
Using 11x M3x8 countersunk screws and 11x M3 T-nuts install the left side lower half panel onto the printer
-
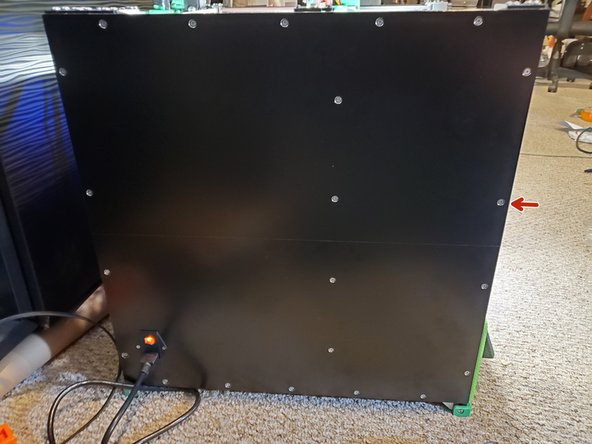
Using 11x M3x8 countersunk screws and 11x M3 T-nuts install the left side upper half panel onto the printer
crwdns2944171:0crwdnd2944171:0crwdnd2944171:0crwdnd2944171:0crwdne2944171:0