crwdns2935425:09crwdne2935425:0


-
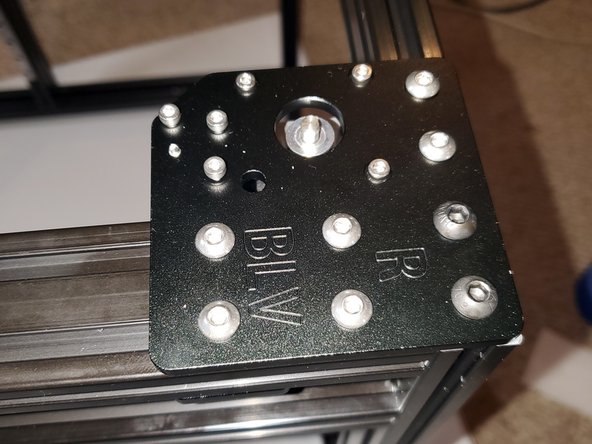
Thread in the M3x30 with bearings on it into the top plate to prevent the bearing from falling out.
-
Position the bottom plate so 4x M5x8 button head screws so the T-nuts will drop into the channel. Do not tighten completely.
-
Using a M3x6 socket head screw attach the bottom plate to the stepper but do not tighten.
-
Insert 2 bearing sandwiches (bearing+washer+bearing) with the bearing tool into the assembly and thread in 2x M3x30 socket head screws
-
Insert 1x 19mm standoff spacer and thread in a m3x30mm socket head screw. Do not tighten
-
Tighten the 4x stepper screws.
-
Tighten the bearing screws. 2x on top and 1x on the bottom. Tighten the standoff spacer screw
-
Tighten the 4x M5x8mm button head screws on the bottom plate
crwdns2944171:0crwdnd2944171:0crwdnd2944171:0crwdnd2944171:0crwdne2944171:0