crwdns2935425:06crwdne2935425:0


-
This was the hardest part for me because I didn't flip the frame.
-
Turn the frame upside down so the top is now the bottom.
-
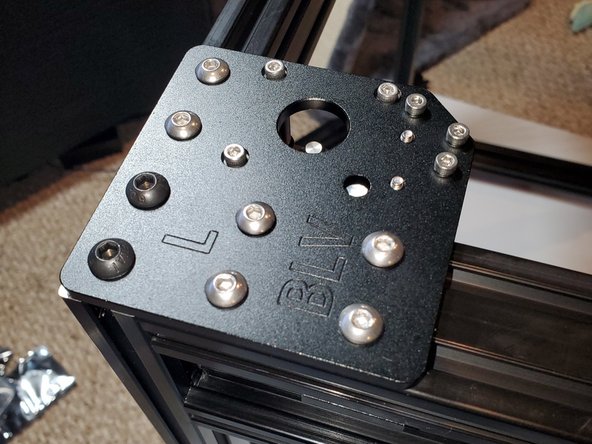
Insert 4x M5 T-nuts into the frame channel and slide them so you can thread 4x M5x8 button head screws into them. Again tighten the screws snug than loosen 1/4 turn.
-
Turn the frame over and tighten the 2x M6 button head screws than the 6x M5x8 button head screws to secure the top plate to the frame.
-
Tighten the 4 stepper mounting bolts. Do not forget about the M3x10
-
Tighten the M3 screws for the bearings. 1 on top and 2 on the bottom of the assembly.
-
Tighten the 2x M3 screws for the standoff spacers
-
Tighten the 4x M5x8 button head screws on the bottom plate
crwdns2944171:0crwdnd2944171:0crwdnd2944171:0crwdnd2944171:0crwdne2944171:0