crwdns2933423:0crwdne2933423:0

iPad 7 Glass Digitizer Replacement

crwdns2936315:0crwdne2936315:0
crwdns2936325:0crwdne2936325:0
crwdns2931653:011crwdne2931653:0
iPad 7 Glass Digitizer Replacement: crwdns2935265:00crwdnd2935265:01crwdnd2935265:03crwdne2935265:0 iPad 7 Glass Digitizer Replacement: crwdns2935265:00crwdnd2935265:02crwdnd2935265:03crwdne2935265:0 iPad 7 Glass Digitizer Replacement: crwdns2935265:00crwdnd2935265:03crwdnd2935265:03crwdne2935265:0
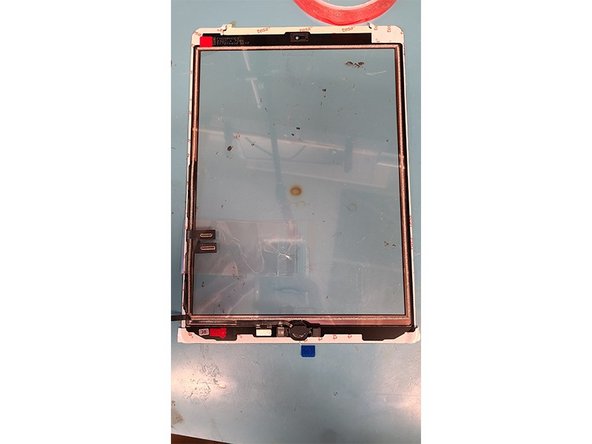
  • Place the home button down first, then place the metal bracket. Give the button some test clicks to insure it is mounted correctly and stable.

  • Prepare for testing, by reconnecting the home button and glass digitizer's ribbon cables in the same way they were disconnected in step 7.

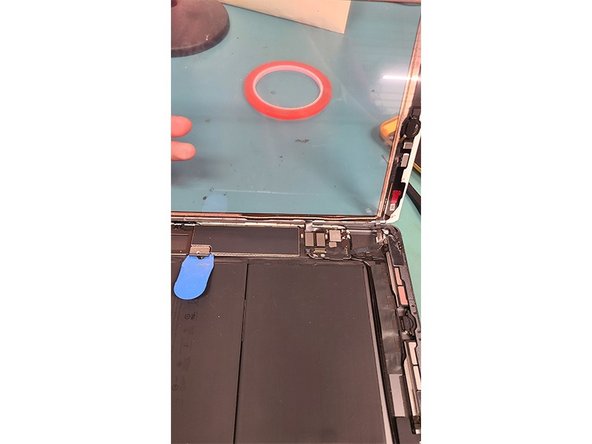
  • Remove the plastic pick from the battery connector and replace the PH000 screw.

  • Replace the display cable bracket with its 3 PH000 screws.

  • Make sure you clean the edges before continuing. A Q-Tip with a very small amount of isopropanol can assist in this. Any debris in the digitizer groove can cause the digitizer to crack.

  • Remount the LCD using its 4 PH000 screws into the iPad housing.

crwdns2935429:0crwdne2935429:0

crwdns2935429:0crwdne2935429:0

crwdns2935429:0crwdne2935429:0

crwdns2935429:0crwdne2935429:0

crwdns2935429:0crwdne2935429:0

crwdns2935429:0crwdne2935429:0

crwdns2944171:0crwdnd2944171:0crwdnd2944171:0crwdnd2944171:0crwdne2944171:0