crwdns2935425:06crwdne2935425:0
crwdns2931653:06crwdne2931653:0

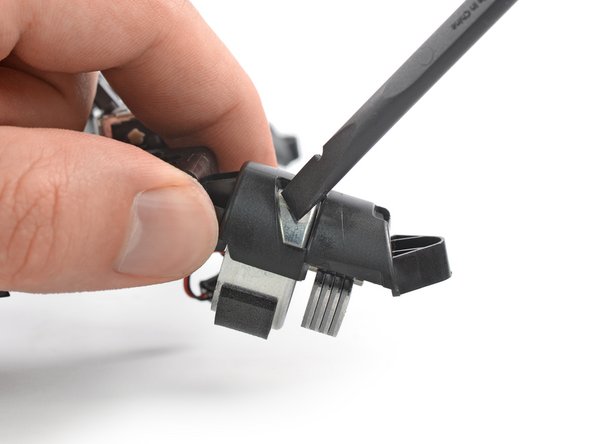
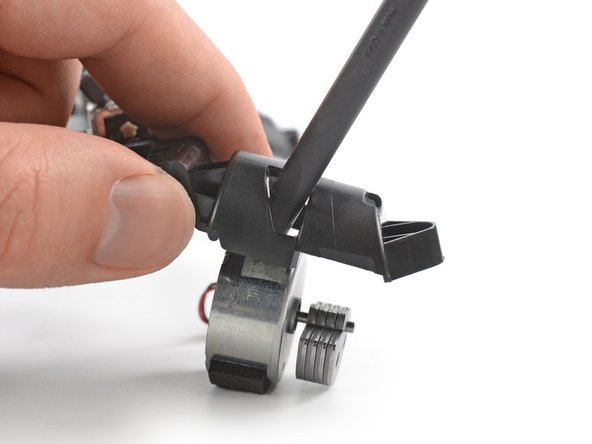


Free the left vibration motor
-
Lift the plastic housing of the left vibration motor about 1.5 cm above your workspace.
-
Use a spudger to press against the vibration motor through the gap in the plastic housing.
-
Separate the vibration motor from its housing.
crwdns2944171:0crwdnd2944171:0crwdnd2944171:0crwdnd2944171:0crwdne2944171:0