crwdns2933423:0crwdne2933423:0

Google Stadia Controller Openingsprocedure

crwdns2931529:0crwdnd2931529:0crwdnd2931529:0crwdnd2931529:09crwdnd2931529:0crwdne2931529:0

crwdns2936315:0crwdne2936315:0
crwdns2936313:0crwdne2936313:0
crwdns2931653:03crwdne2931653:0
Google Stadia Controller Opening Procedure, Remove the screw cover: crwdns2935265:00crwdnd2935265:01crwdnd2935265:03crwdne2935265:0 Google Stadia Controller Opening Procedure, Remove the screw cover: crwdns2935265:00crwdnd2935265:02crwdnd2935265:03crwdne2935265:0 Google Stadia Controller Opening Procedure, Remove the screw cover: crwdns2935265:00crwdnd2935265:03crwdnd2935265:03crwdne2935265:0
Remove the screw cover
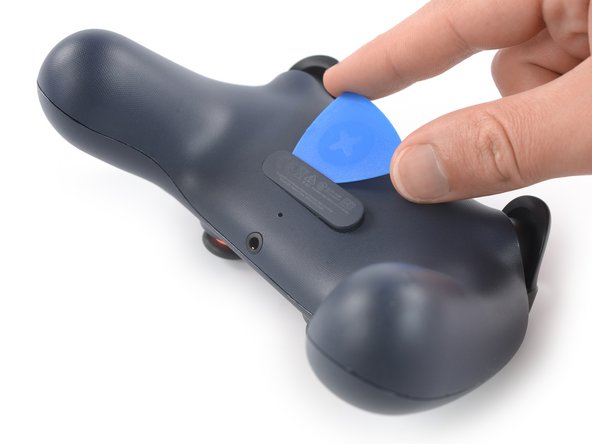
  • Slide the opening pick along the screw cover to slice the adhesive.

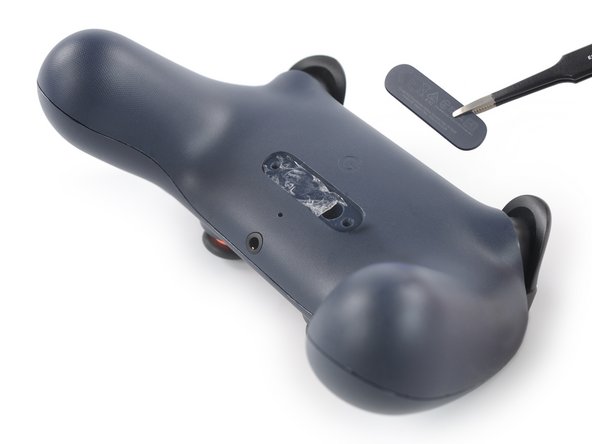
  • Use a pair of tweezers or your fingers to remove the screw cover.

  • You might want to replace the screw cover adhesive during reassembly. Apply a bit of high-concentration isopropyl alcohol (>90%) to a Q-tip or use a cleaning pad to gently remove the leftover adhesive on the rear cover of the controller before installing new adhesive.

Schuif je openingsplectrum langs de schroef-cover om de lijm door te snijden.

Gebruik een pincet of je vingers om de schroef-cover te verwijderen.

Als je de schroef-cover bij het weer in elkaar zetten van je toestel wilt vervangen, dien je eerst wat isopropyl alcohol (>90%) toe op een wattenstaafje of een stuk stofvrij doek om de lijmresten in de achterste behuizing te verwijderen. Installeer daarna pas de nieuwe kleefstrips, dubbelzijdige tape of lijm.

crwdns2944171:0crwdnd2944171:0crwdnd2944171:0crwdnd2944171:0crwdne2944171:0