crwdns2933423:0crwdne2933423:0

JMGO GS1 Disassembly

crwdns2936315:0crwdne2936315:0
crwdns2936323:0crwdne2936323:0
crwdns2931653:010crwdne2931653:0
JMGO GS1 Disassembly, Main board: crwdns2935265:00crwdnd2935265:01crwdnd2935265:03crwdne2935265:0 JMGO GS1 Disassembly, Main board: crwdns2935265:00crwdnd2935265:02crwdnd2935265:03crwdne2935265:0 JMGO GS1 Disassembly, Main board: crwdns2935265:00crwdnd2935265:03crwdnd2935265:03crwdne2935265:0
Main board
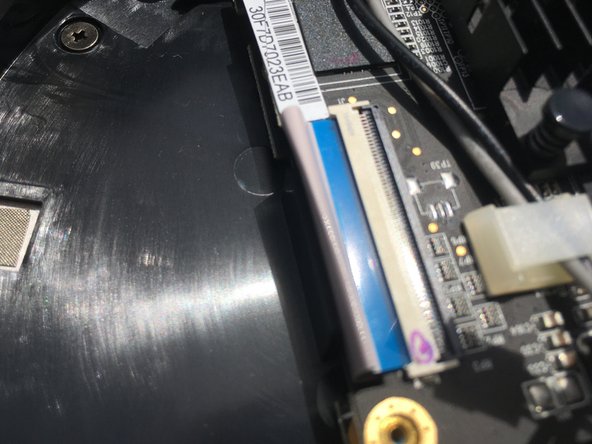
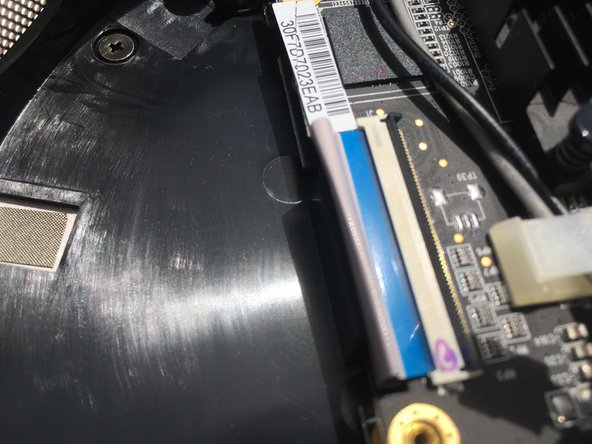
  • We start disconnecting power cable, and the connection with the DPL board.

  • Then unscrew the three left screws securing the board to the main body.

  • Then we open carefully the gate that holds the ribbon cable as shown in the next two pictures. Just pull out and up.

  • Don't push the board just yet, we need to undo another connection in the next step.

crwdns2935429:0crwdne2935429:0

crwdns2935429:0crwdne2935429:0

crwdns2935429:0crwdne2935429:0

crwdns2935429:0crwdne2935429:0

crwdns2944171:0crwdnd2944171:0crwdnd2944171:0crwdnd2944171:0crwdne2944171:0