crwdns2933423:0crwdne2933423:0

Internal Assembly Removal

crwdns2931529:0crwdnd2931529:0crwdnd2931529:0crwdnd2931529:06crwdnd2931529:0crwdne2931529:0

crwdns2936315:0crwdne2936315:0
crwdns2936319:0crwdne2936319:0
crwdns2931653:013crwdne2931653:0
Internal Assembly Removal: crwdns2935265:00crwdnd2935265:01crwdnd2935265:02crwdne2935265:0 Internal Assembly Removal: crwdns2935265:00crwdnd2935265:02crwdnd2935265:02crwdne2935265:0
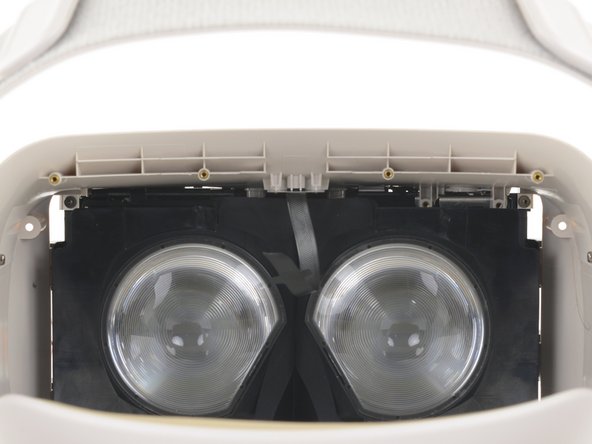
  • Use a T5 Torx screwdriver to remove the two 5.5 mm screws securing the internal assembly to inside of the frame.

  • During reassembly, make sure the internal assembly is fully seated on its centering pegs on each side and sits flush on the tabs on the frame before tightening these two screws.

  • Check for proper rack and pinion operation before continuing reassembly.

crwdns2935429:0crwdne2935429:0

crwdns2935429:0crwdne2935429:0

crwdns2935429:0crwdne2935429:0

crwdns2944171:0crwdnd2944171:0crwdnd2944171:0crwdnd2944171:0crwdne2944171:0