crwdns2935425:010crwdne2935425:0
crwdns2931653:010crwdne2931653:0


-
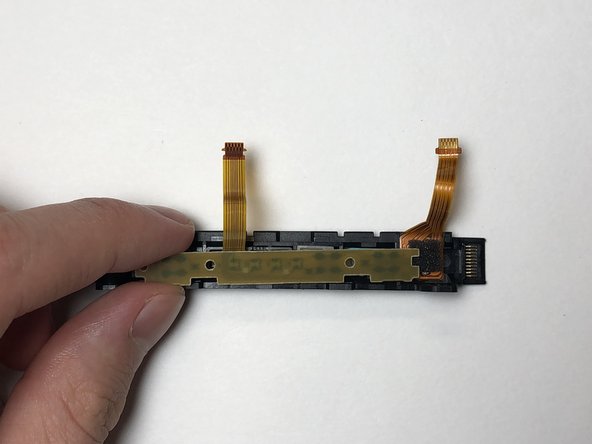
Place the SL, SR and sync buttons into the new charging rail and make sure the tabs on the SL and SR buttons fit into their respective socket grooves.
-
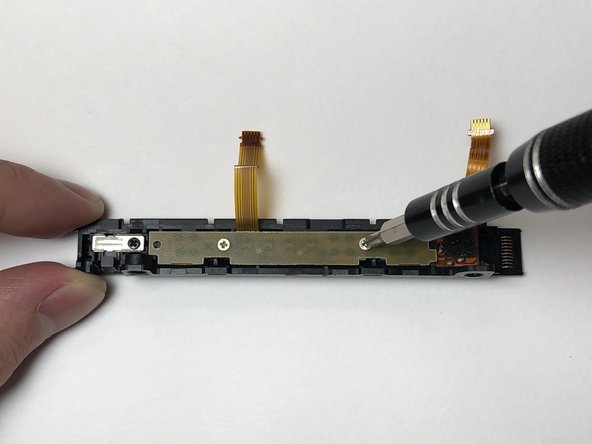
Place the PCB over the buttons and secure it in place using the two golden 3 mm Phillips #000 screws.
crwdns2944171:0crwdnd2944171:0crwdnd2944171:0crwdnd2944171:0crwdne2944171:0