crwdns2933423:0crwdne2933423:0

Samsung Galaxy Note20 Ultra Vervanging van het scherm

crwdns2936315:0crwdne2936315:0
crwdns2936313:0crwdne2936313:0
crwdns2931653:04crwdne2931653:0
Samsung Galaxy Note20 Ultra Screen Replacement, Separate the perimeter adhesive: crwdns2935265:00crwdnd2935265:01crwdnd2935265:03crwdne2935265:0 Samsung Galaxy Note20 Ultra Screen Replacement, Separate the perimeter adhesive: crwdns2935265:00crwdnd2935265:02crwdnd2935265:03crwdne2935265:0 Samsung Galaxy Note20 Ultra Screen Replacement, Separate the perimeter adhesive: crwdns2935265:00crwdnd2935265:03crwdnd2935265:03crwdne2935265:0
Separate the perimeter adhesive
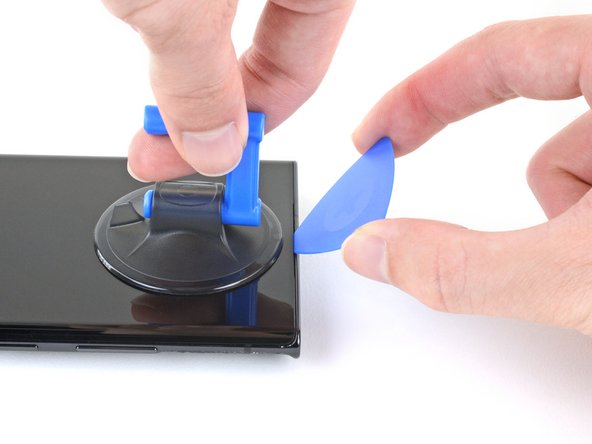
  • Apply a suction cup to the heated top edge of the screen, as close to the edge as possible.

  • If your screen is badly cracked, covering it with a layer of clear packing tape may allow the suction cup to adhere. Alternatively, very strong tape may be used instead of the suction cup. If all else fails, you can superglue the suction cup to the broken screen.

  • Pull up on the suction cup with a steady force to create a gap between the screen and the frame.

  • Depending on the age of your phone, this may be difficult. If you are having trouble creating a gap for the opening pick, apply more heat to the edge and try again. You may need to repeat this step multiple times.

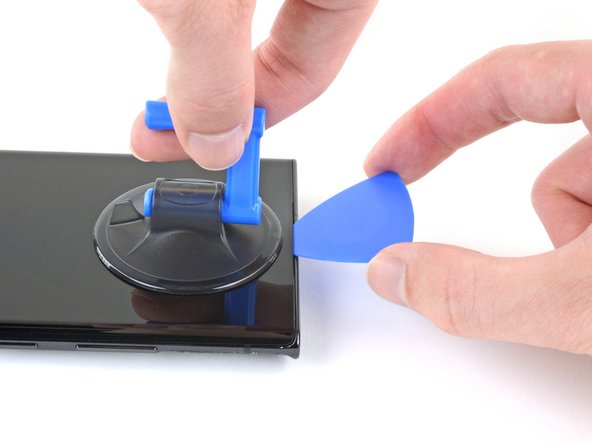
  • Insert the tip of an opening pick into the gap at a steep angle. Push down the opening pick so that it is level with the screen.

  • Make sure the opening pick slides over the front-facing camera and is not pushing against it.

  • Leave the opening pick in the gap to prevent the adhesive from re-sealing.

Druk een zuignap op de verwarmde bovenkant van het scherm, zo dicht mogelijk bij de rand.

Als je scherm gebarsten is, kun je het beplakken met een aantal lagen doorzichtige tape, zodat de zuignap zich vast kan zuigen. Je kunt er ook voor kiezen het scherm met een stuk sterke tape omhoog te trekken. Als dat alles niet lukt, kun je de zuignap met secondelijm op het scherm vast lijmen.

Trek de zuignap met een stevige, constante kracht omhoog om zo een opening tussen het scherm en het frame te creëren.

Dit kan, afhankelijk van je telefoons leeftijd, vrij lastig zijn. Als je moeite hebt met het creëren van de opening gebruik je meer warmte om de lijm te verzwakken en probeer je het nog eens. Het kan nodig zijn dat je deze stap meerdere keren herhaalt.

Steek de punt van je openingsplectrum in een scherpe hoek in de opening. Duw het uiteinde van je plectrum vervolgens naar beneden tot deze parallel aan het scherm loopt.

Zorg dat je openingsplectrum langs de naar voren gerichte camera heen glijdt en er niet tegenaan duwt.

Laat je openingsplectrum in de opening zitten om te voorkomen dat de lijm zich opnieuw gaat hechten.

crwdns2944171:0crwdnd2944171:0crwdnd2944171:0crwdnd2944171:0crwdne2944171:0