crwdns2933423:0crwdne2933423:0

13” & 15” Retina MacBook Pro Glass Bezel Replacement

crwdns2935425:03crwdne2935425:0

crwdns2936315:0crwdne2936315:0
crwdns2936323:0crwdne2936323:0
crwdns2931653:03crwdne2931653:0
13” & 15” Retina MacBook Pro Glass Bezel Replacement, Apply The New Bezel: crwdns2935265:00crwdnd2935265:01crwdnd2935265:03crwdne2935265:0 13” & 15” Retina MacBook Pro Glass Bezel Replacement, Apply The New Bezel: crwdns2935265:00crwdnd2935265:02crwdnd2935265:03crwdne2935265:0 13” & 15” Retina MacBook Pro Glass Bezel Replacement, Apply The New Bezel: crwdns2935265:00crwdnd2935265:03crwdnd2935265:03crwdne2935265:0
Apply The New Bezel
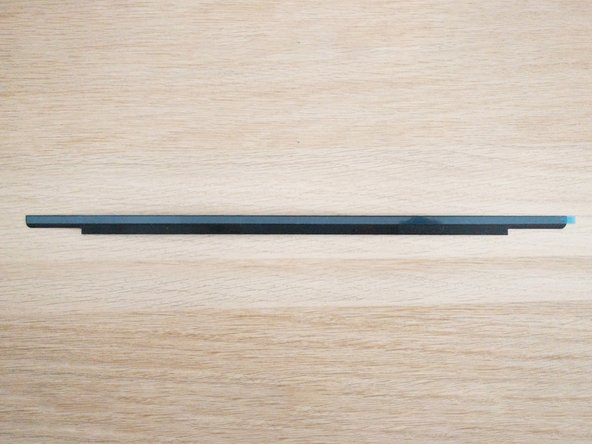
  • Simply attach the bezel onto your Macbook and use the rubber seal that surrounds the screen to align the bezel.

  • Depending on where you purchased your replacement bezel from, you may not have double-sided tape pre-applied. If not, put a strip of double-sided tape on the top edge of the bezel.

  • The double-sided tape that Apple uses on the bezel is 4mm. I'm not 100% sure but this could make sure the tape doesn't stick to the delicate ribbon cables.

crwdns2935429:0crwdne2935429:0

crwdns2935429:0crwdne2935429:0

crwdns2935429:0crwdne2935429:0

crwdns2944171:0crwdnd2944171:0crwdnd2944171:0crwdnd2944171:0crwdne2944171:0