crwdns2933423:0crwdne2933423:0

Sostituzione della cornice frontale del MacBook Pro 13"

crwdns2935425:03crwdne2935425:0

crwdns2936315:0crwdne2936315:0
crwdns2936321:0crwdne2936321:0
crwdns2931653:03crwdne2931653:0
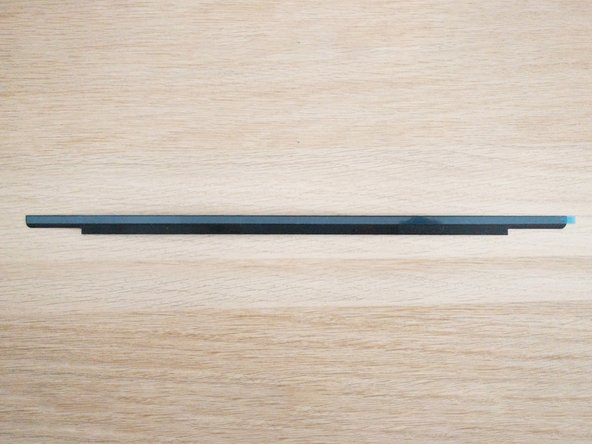
13” & 15” Retina MacBook Pro Glass Bezel Replacement, Apply The New Bezel: crwdns2935265:00crwdnd2935265:01crwdnd2935265:03crwdne2935265:0 13” & 15” Retina MacBook Pro Glass Bezel Replacement, Apply The New Bezel: crwdns2935265:00crwdnd2935265:02crwdnd2935265:03crwdne2935265:0 13” & 15” Retina MacBook Pro Glass Bezel Replacement, Apply The New Bezel: crwdns2935265:00crwdnd2935265:03crwdnd2935265:03crwdne2935265:0
Apply The New Bezel
  • Simply attach the bezel onto your Macbook and use the rubber seal that surrounds the screen to align the bezel.

  • Depending on where you purchased your replacement bezel from, you may not have double-sided tape pre-applied. If not, put a strip of double-sided tape on the top edge of the bezel.

  • The double-sided tape that Apple uses on the bezel is 4mm. I'm not 100% sure but this could make sure the tape doesn't stick to the delicate ribbon cables.

Semplicemente attacca la cornice sul tuo MacBook e usa il guarnizione di gomma che circonda lo schermo per allineare la cornice.

A seconda di dove hai acquistato la cornice di ricambio, potrebbe non avere il nastro biadesivo già applicato. In tal caso, metti una striscia di nastro biadesivo sul bordo superiore della cornice.

Il nastro biadesivo che Apple utilizza sulla cornice è di 4 mm. Non ne sono completamente sicuro, ma questo potrebbe garantire che il nastro non si attacchi ai delicati cavi a nastro.

crwdns2944171:0crwdnd2944171:0crwdnd2944171:0crwdnd2944171:0crwdne2944171:0