crwdns2933423:0crwdne2933423:0

MacBook Pro 13 und 15 Zoll Glasrand Austausch

crwdns2935425:03crwdne2935425:0

crwdns2936315:0crwdne2936315:0
crwdns2936319:0crwdne2936319:0
crwdns2931653:03crwdne2931653:0
13” & 15” Retina MacBook Pro Glass Bezel Replacement, Apply The New Bezel: crwdns2935265:00crwdnd2935265:01crwdnd2935265:03crwdne2935265:0 13” & 15” Retina MacBook Pro Glass Bezel Replacement, Apply The New Bezel: crwdns2935265:00crwdnd2935265:02crwdnd2935265:03crwdne2935265:0 13” & 15” Retina MacBook Pro Glass Bezel Replacement, Apply The New Bezel: crwdns2935265:00crwdnd2935265:03crwdnd2935265:03crwdne2935265:0
Apply The New Bezel
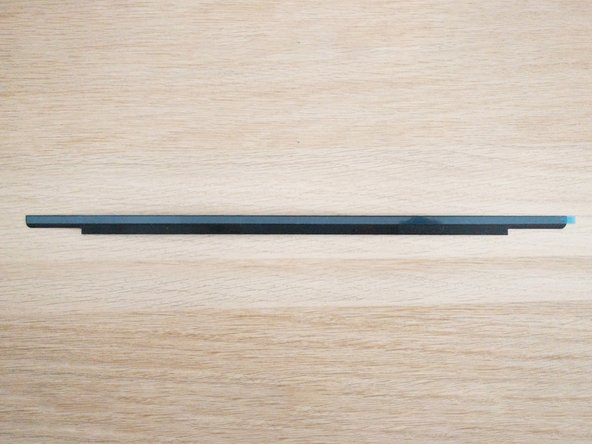
  • Simply attach the bezel onto your Macbook and use the rubber seal that surrounds the screen to align the bezel.

  • Depending on where you purchased your replacement bezel from, you may not have double-sided tape pre-applied. If not, put a strip of double-sided tape on the top edge of the bezel.

  • The double-sided tape that Apple uses on the bezel is 4mm. I'm not 100% sure but this could make sure the tape doesn't stick to the delicate ribbon cables.

Bringe den Rahmen einfach an deinem Macbook an und verwende die Gummidichtung, die den Bildschirm umgibt, um die Blende auszurichten.

Je nachdem, woher du deinen Rahmen gekauft hast, ist möglicherweise kein doppelseitiges Klebeband vorinstalliert. Wenn nicht, klebe einen Streifen doppelseitiges Klebeband auf die Oberkante der Blende.

Das doppelseitige Klebeband, das Apple auf dem Rahmen verwendet, ist 4 mm dick. Ich bin mir nicht 100%ig sicher, aber das könnte dafür sorgen, dass das Band nicht an den empfindlichen Flexkabeln klebt.

crwdns2944171:0crwdnd2944171:0crwdnd2944171:0crwdnd2944171:0crwdne2944171:0