crwdns2933423:0crwdne2933423:0

Keurig K-Mini Teardown

crwdns2935425:010crwdne2935425:0

crwdns2936315:0crwdne2936315:0
crwdns2936325:0crwdne2936325:0
crwdns2931653:010crwdne2931653:0
Keurig K-Mini Teardown: crwdns2935265:00crwdnd2935265:01crwdnd2935265:03crwdne2935265:0 Keurig K-Mini Teardown: crwdns2935265:00crwdnd2935265:02crwdnd2935265:03crwdne2935265:0 Keurig K-Mini Teardown: crwdns2935265:00crwdnd2935265:03crwdnd2935265:03crwdne2935265:0
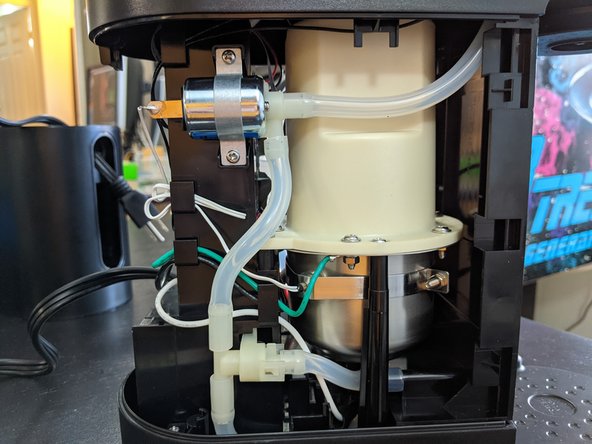
  • Side views of the internals.

  • Make sure when re-assembling to clip all the wires in the right places, so they do not come in to contact with any hot parts and potentially melt!

  • The lid ribbon cable has a little clip in the top of the chassis to keep it tucked away.

crwdns2935429:0crwdne2935429:0

crwdns2935429:0crwdne2935429:0

crwdns2935429:0crwdne2935429:0

crwdns2944171:0crwdnd2944171:0crwdnd2944171:0crwdnd2944171:0crwdne2944171:0