crwdns2935425:03crwdne2935425:0
crwdns2931653:03crwdne2931653:0


Screws
-
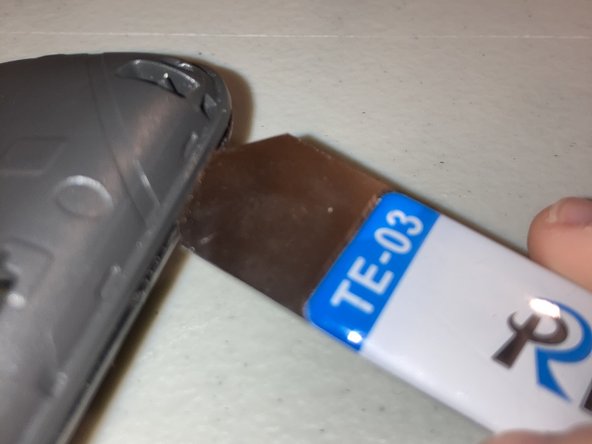
Now, unscrew the three Phillips screws with a PH#000 screwdriver and use an opening tool to work your way around the edges to get the back-off.
| [title] Screws | |
| - | [* black] Now, unscrew the three Phillips screws with a PH#000 screwdriver and use an opening tool to work your way around the edges to get the back |
| - | [* icon_caution] Be |
| + | [* black] Now, unscrew the three Phillips screws with a PH#000 screwdriver and use an opening tool to work your way around the edges to get the back-off. |
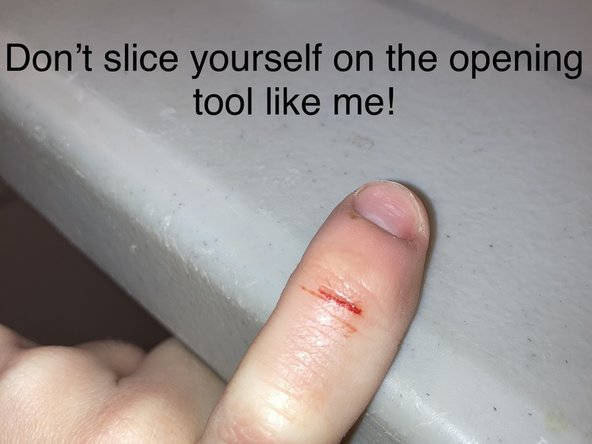
| + | [* icon_caution] Be careful not to hurt yourself with the opening tool! (See Photo 3) |
crwdns2944171:0crwdnd2944171:0crwdnd2944171:0crwdnd2944171:0crwdne2944171:0