crwdns2935425:010crwdne2935425:0
crwdns2931653:010crwdne2931653:0


Screen!
-
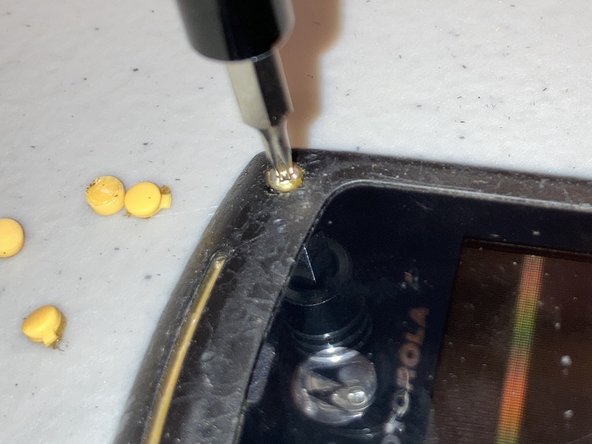
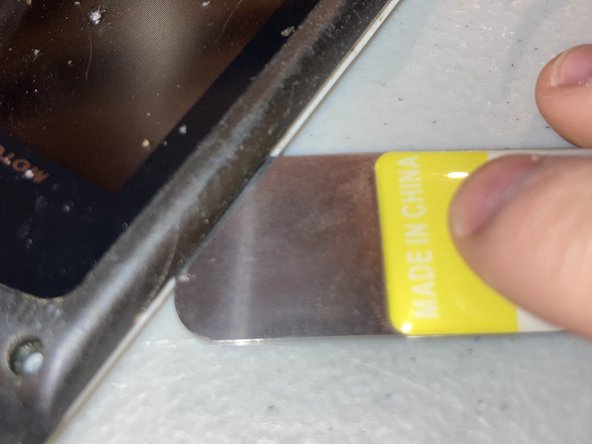
Phew! We’ve done a lot of work on the bottom of the phone. Let’s go to the top with the screen! First, use tweezers to remove the yellow rubber coverings over the screws, then use your T5 Torx driver to remove all four screws. Now work your way around the screen edge with an opening tool, then lift the cover!
| [title] Screen! | |
| - | [* black] Phew! We’ve done a lot of work on the bottom of the phone. Let’s go to the top with the screen! First, use tweezers to remove the yellow rubber coverings over the screws, then use your T5 |
| + | [* black] Phew! We’ve done a lot of work on the bottom of the phone. Let’s go to the top with the screen! First, use tweezers to remove the yellow rubber coverings over the screws, then use your T5 Torx driver to remove all four screws. Now work your way around the screen edge with an opening tool, then lift the cover! |
crwdns2944171:0crwdnd2944171:0crwdnd2944171:0crwdnd2944171:0crwdne2944171:0