crwdns2935425:04crwdne2935425:0
crwdns2931653:04crwdne2931653:0


Next Screws
-
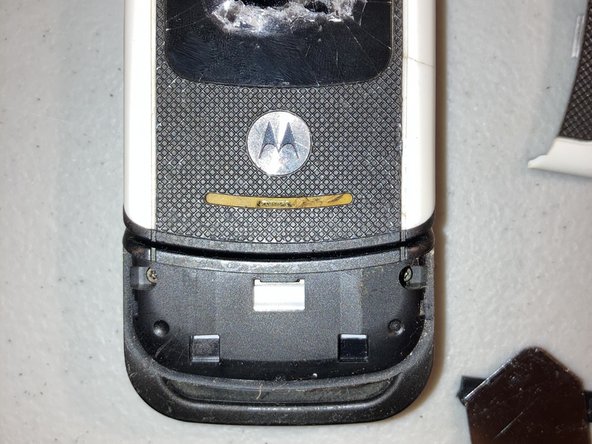
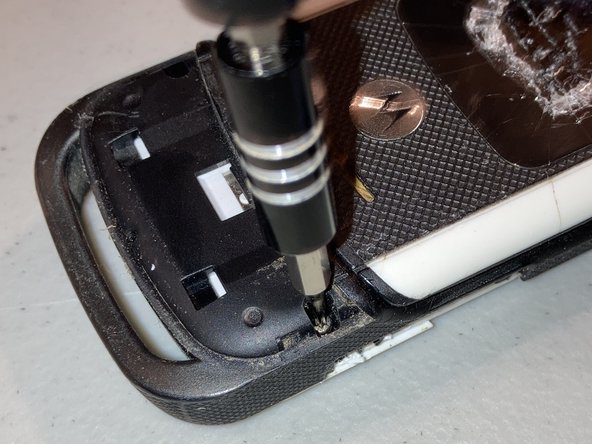
After the first screws are removed, let’s take a look at the front. On the bottom of the front, there is a plastic cover blocking two screws. Work your way around the edges of the cover with an opening tool to remove it, then lift the cover and remove the two remaining external Torx screws.
| [title] Next Screws | |
| - | [* black] After the first screws are removed, let’s take a look at the front. On the bottom of the front, there is a plastic cover blocking two screws. Work your way around the edges of the cover with an opening tool to remove it, then lift the cover and remove the two remaining external |
| + | [* black] After the first screws are removed, let’s take a look at the front. On the bottom of the front, there is a plastic cover blocking two screws. Work your way around the edges of the cover with an opening tool to remove it, then lift the cover and remove the two remaining external Torx screws. |
crwdns2944171:0crwdnd2944171:0crwdnd2944171:0crwdnd2944171:0crwdne2944171:0