crwdns2935425:010crwdne2935425:0
crwdns2931653:010crwdne2931653:0


-
Once completed, place the lower layer on the heating platform. Apply some BGA paste flux to the bonding pad and get the upper layer in the right position.
-
Heat for 2 minutes on the heating platform at 165℃.
-
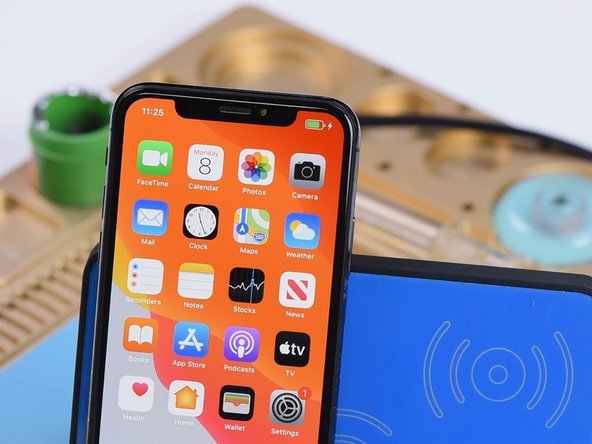
Now we can assemble the phone and test. Get the motherboard installed and display assembly connected. Press the power button to turn on the phone. The phone turns on normally.
-
Place the phone on a wireless charger and the phone can be wirelessly charged.
crwdns2944171:0crwdnd2944171:0crwdnd2944171:0crwdnd2944171:0crwdne2944171:0