crwdns2935425:04crwdne2935425:0
crwdns2931653:04crwdne2931653:0


-
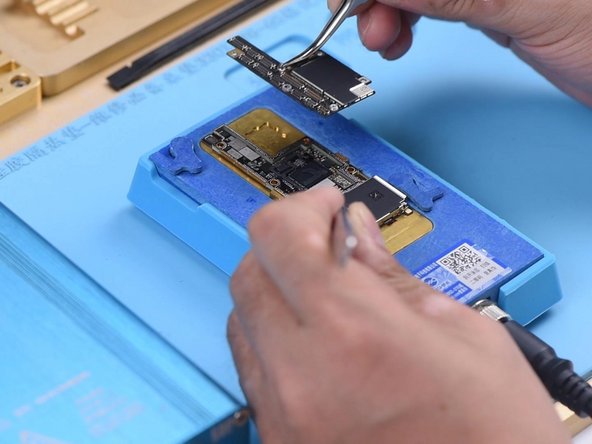
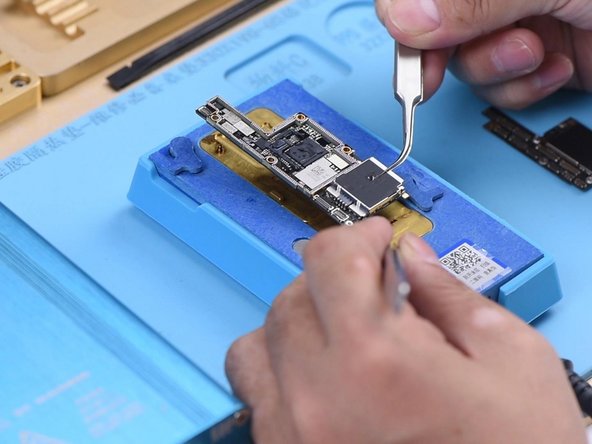
The first thing we do is to separate the upper layer from the lower layer. Place the motherboard on the heating platform and fit a screw into the screw hole on the motherboard. So we can take down the upper layer efficiently afterward.
-
Heat the motherboard for 2 minutes on the heating platform at 165℃.
-
After heating, take down the upper layer with tweezers and then the lower layer.
| [* black] The first thing we do is to separate the upper layer from the lower layer. Place the motherboard on the heating platform and fit a screw into the screw hole on the motherboard. So we can take down the upper layer efficiently afterward. | |
| [* black] Heat the motherboard for 2 minutes on the heating platform at 165℃. | |
| - | [* black] After heating, take down the upper layer with tweezers and then the lower layer. |
| + | [* black] After heating, take down the upper layer with [product|IF145-020|tweezers] and then the lower layer. |
crwdns2944171:0crwdnd2944171:0crwdnd2944171:0crwdnd2944171:0crwdne2944171:0