crwdns2935425:010crwdne2935425:0
crwdns2931653:010crwdne2931653:0

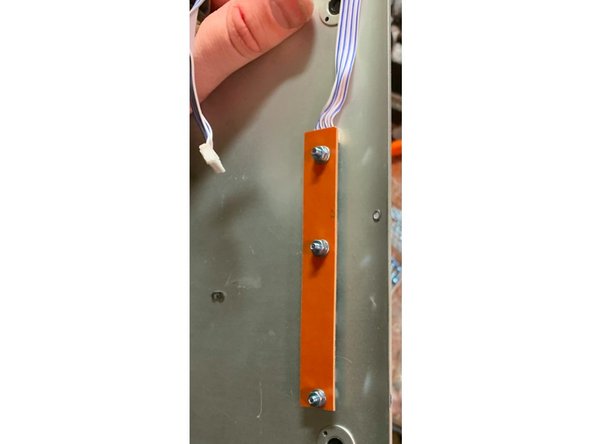


Mounting the Menu Button bar
-
Identify where you'd like your menu buttons to be. I've placed mine so they'll be along the left-edge once the project is completed.
-
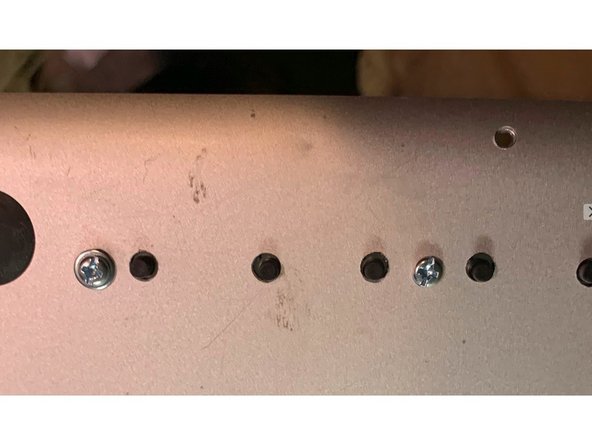
Drill small holes for your nuts and bolts, and larger holes for the buttons
-
Mount the menu board using nuts and bolts.
-
Protip: Make a note of which button is the POWER button. May come in handy in Step 12. These boards typically have little function labels printed on them.
crwdns2944171:0crwdnd2944171:0crwdnd2944171:0crwdnd2944171:0crwdne2944171:0