crwdns2933423:0crwdne2933423:0

Ducky One 2 Mini Cherry MX Switch Replacement

crwdns2936315:0crwdne2936315:0
crwdns2936323:0crwdne2936323:0
crwdns2931653:04crwdne2931653:0
Ducky One 2 Mini Cherry MX Switch Replacement: crwdns2935265:00crwdnd2935265:01crwdnd2935265:03crwdne2935265:0 Ducky One 2 Mini Cherry MX Switch Replacement: crwdns2935265:00crwdnd2935265:02crwdnd2935265:03crwdne2935265:0 Ducky One 2 Mini Cherry MX Switch Replacement: crwdns2935265:00crwdnd2935265:03crwdnd2935265:03crwdne2935265:0
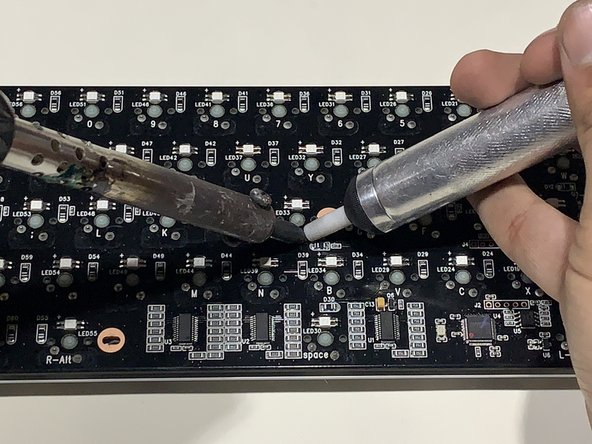
  • Flip the board over and you will notice two soldered pins near each letter on the keyboard.

  • Hold the soldering iron on the pins for a few seconds and remove with the de-soldering pump.

  • Once both the pins are clear of solder, the pins should move freely in the slots.

  • When heating the soldered pins, do not let the iron touch the board to avoid any damage.

  • Do Not Touch the neck of the solder iron when plugged in to avoid any harm.

crwdns2935429:0crwdne2935429:0

crwdns2935429:0crwdne2935429:0

crwdns2935429:0crwdne2935429:0

crwdns2935429:0crwdne2935429:0

crwdns2935429:0crwdne2935429:0

crwdns2944171:0crwdnd2944171:0crwdnd2944171:0crwdnd2944171:0crwdne2944171:0