crwdns2933423:0crwdne2933423:0

Vue éclatée des iPhone 12 et 12 Pro

crwdns2936315:0crwdne2936315:0
crwdns2936317:0crwdne2936317:0
crwdns2931653:019crwdne2931653:0
iPhone 12 and 12 Pro Teardown: crwdns2935265:00crwdnd2935265:01crwdnd2935265:03crwdne2935265:0 iPhone 12 and 12 Pro Teardown: crwdns2935265:00crwdnd2935265:02crwdnd2935265:03crwdne2935265:0 iPhone 12 and 12 Pro Teardown: crwdns2935265:00crwdnd2935265:03crwdnd2935265:03crwdne2935265:0
  • The only seam to be found is where the rubber meets the metal, making that the obvious entry point.

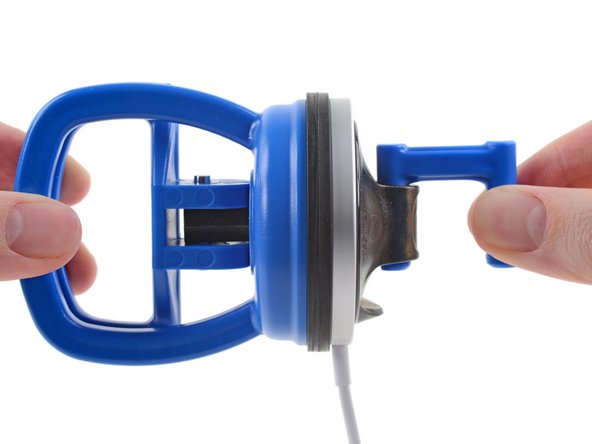
  • Optimistically, we blast it with some heat in order to soften the adhesive which, presumably, holds this thing together. Then we attach two perfectly-fitting suction cups, one to either side, and start tug-of-warring.

  • The white cover material on the charging surface starts to stretch slightly, but the actual gap doesn’t budge. (Sometimes we're too optimistic.)

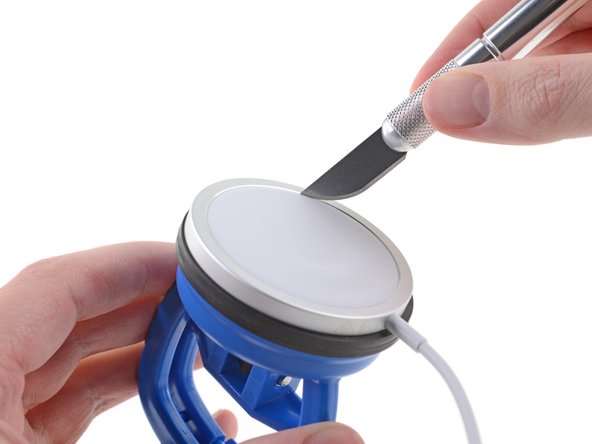
  • So, under the knife it goes! Some persuasion from our razor knife gets us past the white cover, between the plastic and metal underneath, where we can start prying.

La seule jointure visible est entre le caoutchouc et le métal. Voilà donc notre porte d'entrée.

Pleins d'optimisme, nous soufflons de l'air chaud afin de ramollir l'adhésif qui fixe probablement le tout. Puis nous appliquons deux ventouses parfaitement accordées, une de chaque côté, et commençons une partie de tir à la corde.

Le matériau blanc de la coque de la surface de charge commence à légèrement se déformer, mais l'interstice ne s'agrandit pas d'un millimètre. (Il nous arrive d'être trop optimistes.)

Sortons un couteau alors ! En insistant un peu, notre lame de rasoir parvient à s'insérer entre la coque en plastique blanc et la partie en métal et nous pouvons commencer à faire levier.

crwdns2944171:0crwdnd2944171:0crwdnd2944171:0crwdnd2944171:0crwdne2944171:0