crwdns2933423:0crwdne2933423:0

Desmontaje del iPhone 12 y 12 Pro

crwdns2936315:0crwdne2936315:0
crwdns2936331:0crwdne2936331:0
crwdns2931653:019crwdne2931653:0
iPhone 12 and 12 Pro Teardown: crwdns2935265:00crwdnd2935265:01crwdnd2935265:03crwdne2935265:0 iPhone 12 and 12 Pro Teardown: crwdns2935265:00crwdnd2935265:02crwdnd2935265:03crwdne2935265:0 iPhone 12 and 12 Pro Teardown: crwdns2935265:00crwdnd2935265:03crwdnd2935265:03crwdne2935265:0
  • The only seam to be found is where the rubber meets the metal, making that the obvious entry point.

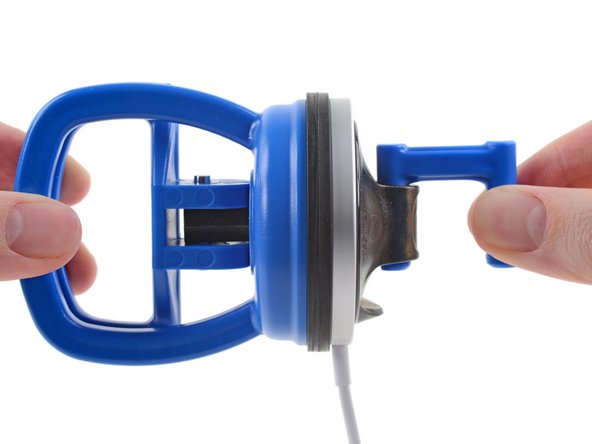
  • Optimistically, we blast it with some heat in order to soften the adhesive which, presumably, holds this thing together. Then we attach two perfectly-fitting suction cups, one to either side, and start tug-of-warring.

  • The white cover material on the charging surface starts to stretch slightly, but the actual gap doesn’t budge. (Sometimes we're too optimistic.)

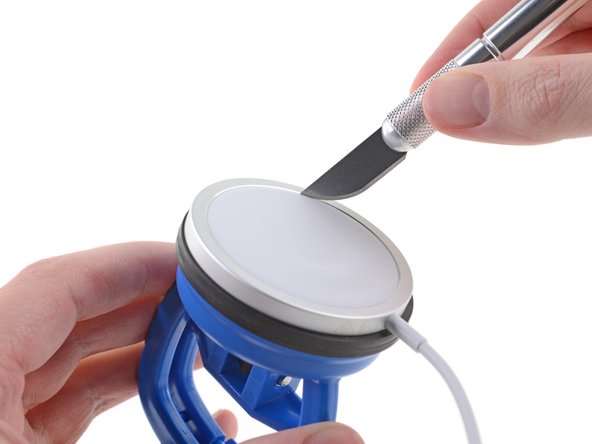
  • So, under the knife it goes! Some persuasion from our razor knife gets us past the white cover, between the plastic and metal underneath, where we can start prying.

El único reborde está donde la goma se encuentra con el metal, lo que hace que sea el punto de entrada obvio.

Optimistamente, lo rociamos con algo de calor para ablandar el adhesivo que, presumiblemente, mantiene esta cosa unida. Luego unimos dos ventosas perfectamente ajustadas, una a cada lado, y empezamos a tirar de la cuerda.

El material blanco de la superficie de carga comienza a estirarse ligeramente, pero el espacio real no se mueve. (A veces somos demasiado optimistas.)

Así que, ¡bajo el cuchillo se va! Un poco de persuasión de nuestra navaja de afeitar nos hace pasar la cubierta blanca, entre el plástico y el metal de debajo, donde podemos empezar a hacer palanca.

crwdns2944171:0crwdnd2944171:0crwdnd2944171:0crwdnd2944171:0crwdne2944171:0