crwdns2935425:024crwdne2935425:0
crwdns2931653:024crwdne2931653:0


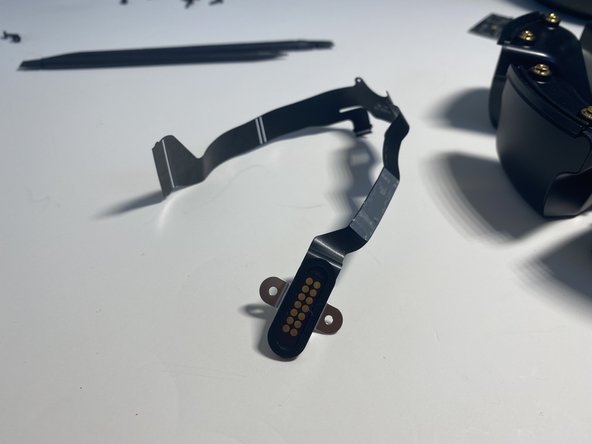


Main Ribbon Cable Removal
-
Remove the two T6 screws securing the diagnostic port to the bottom housing
crwdns2944171:0crwdnd2944171:0crwdnd2944171:0crwdnd2944171:0crwdne2944171:0