crwdns2933423:0crwdne2933423:0

Razer Hyperflux Teardown

crwdns2935425:03crwdne2935425:0

crwdns2936315:0crwdne2936315:0
crwdns2936323:0crwdne2936323:0
crwdns2931653:03crwdne2931653:0
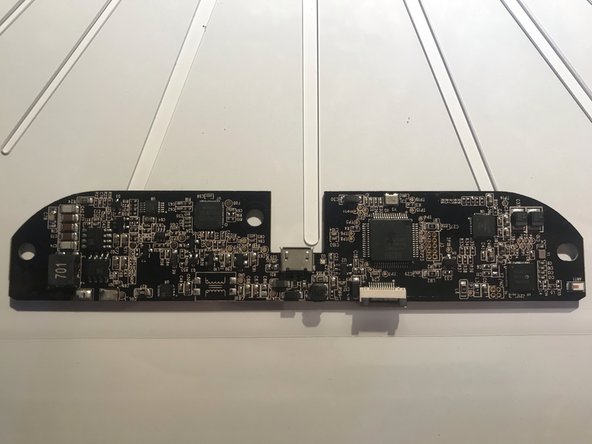
Razer Hyperflux Teardown, Removing the PCB: crwdns2935265:00crwdnd2935265:01crwdnd2935265:03crwdne2935265:0 Razer Hyperflux Teardown, Removing the PCB: crwdns2935265:00crwdnd2935265:02crwdnd2935265:03crwdne2935265:0 Razer Hyperflux Teardown, Removing the PCB: crwdns2935265:00crwdnd2935265:03crwdnd2935265:03crwdne2935265:0
Removing the PCB
  • Desolder the copper leads (red circle) and open the gate of the connector (blue circle)

  • You can now safely take out the pcb

  • For reassembly simply follow the steps in reverse

crwdns2935429:0crwdne2935429:0

crwdns2935429:0crwdne2935429:0

crwdns2935429:0crwdne2935429:0

crwdns2944171:0crwdnd2944171:0crwdnd2944171:0crwdnd2944171:0crwdne2944171:0