crwdns2935425:03crwdne2935425:0
crwdns2931653:03crwdne2931653:0

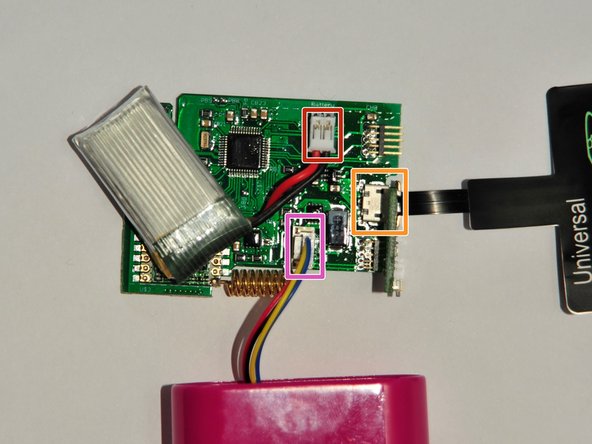
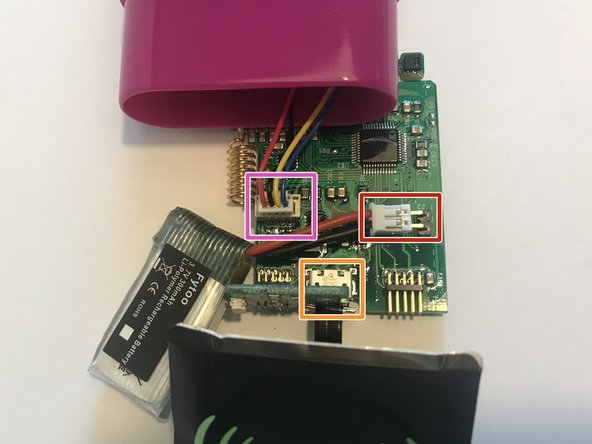


Connect parts to the PCB
-
The soil sensor, battery and wireless charger all need to be connected to the PCB.
-
Battery
-
Wireless charger
-
Soil sensor
crwdns2944171:0crwdnd2944171:0crwdnd2944171:0crwdnd2944171:0crwdne2944171:0