crwdns2933423:0crwdne2933423:0

Infrared Remote Control Cleaning

crwdns2935425:05crwdne2935425:0

crwdns2936331:0crwdne2936331:0
crwdns2936315:0crwdne2936315:0
crwdns2931653:05crwdne2931653:0
Limpieza de mandos a distancia por infrarrojos, Montaje y prueba: crwdns2935265:00crwdnd2935265:01crwdnd2935265:03crwdne2935265:0 Limpieza de mandos a distancia por infrarrojos, Montaje y prueba: crwdns2935265:00crwdnd2935265:02crwdnd2935265:03crwdne2935265:0 Limpieza de mandos a distancia por infrarrojos, Montaje y prueba: crwdns2935265:00crwdnd2935265:03crwdnd2935265:03crwdne2935265:0
Montaje y prueba
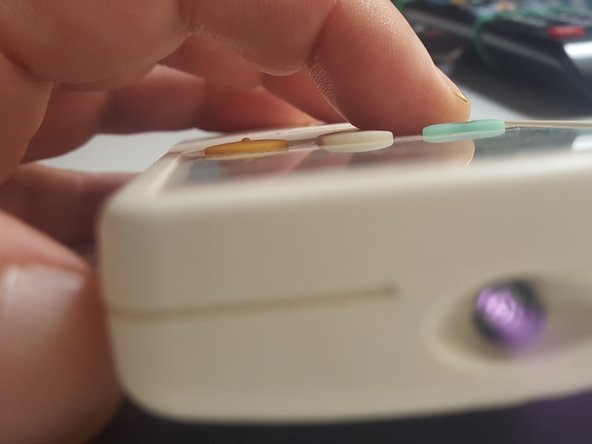
  • En la foto se ve que ha quedado limpio tanto el circuito como los contactos negros de las teclas.

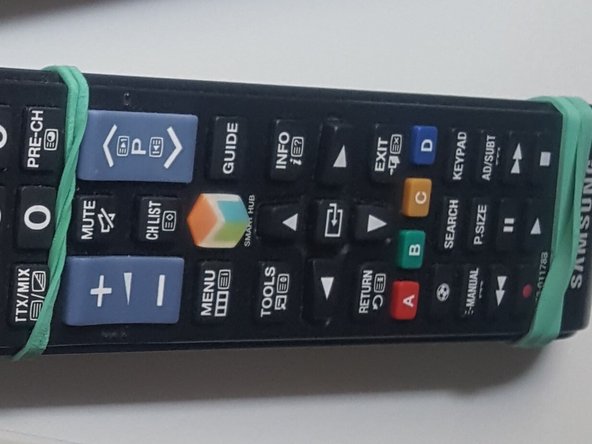
  • Procedemos a montarlo todo y, si ha sufrido caídas o golpes como el de la 2ª foto, quizás necesite una sujeción extra más o menos elegante...

  • Probamos las teclas que fallaban según indicamos en el paso 1 y, si es necesario, repetimos la limpieza.

  • Si sigue fallando alguna tecla podría ser que su pieza de contacto negra esté defectuosa y podría sustituirse con otra de un mando viejo. Otro motivo podría ser que, por una caída se halla roto alguna pista del circuito, y para repararla podría ser necesario un soldador. Quizás se trate en otra guía ;-)

  • Puede ser un foco de contagios, sobre todo ahora con la pandemia Covid, por lo que es conveniente una desinfección adecuada con el método que se considere mejor, y para facilitarla puede usarse metido en una bolsa de plástico transparente.

In the picture you can see how clean now is both the PCB and the switches.

To assembly you often have to put the PCB into he bottom half, carefully threading the battery contacts into the case rails (if any), then aligning the buttons over the PCB and finish with the top half, be mindful of the LED or window in front, buttons should align themselves.

Is time to test again(like we first did) and if any button fais repeat the cleaning both in the PCB and the button itself with a cotton an alcohol. To ease this process you can test without the top halve, just aligning the buttons, or putting the top half but not pushing all the way until makes click "click" (more easily said than done)

If continues not working after you clearly see it clean you should pay attention to the graphite, there are some products to paint over them if they were worn out. Now clean and easy to see check for any lift or broken tracks.

If all goes well put the screw back, put some new batteries and pat you on the back, congratulations you made it! If all didn't go well still pat you on the back, you tried, next time you will not need a guide.

crwdns2944171:0crwdnd2944171:0crwdnd2944171:0crwdnd2944171:0crwdne2944171:0