crwdns2935425:08crwdne2935425:0
crwdns2931653:08crwdne2931653:0


Top main and bottom boards
-
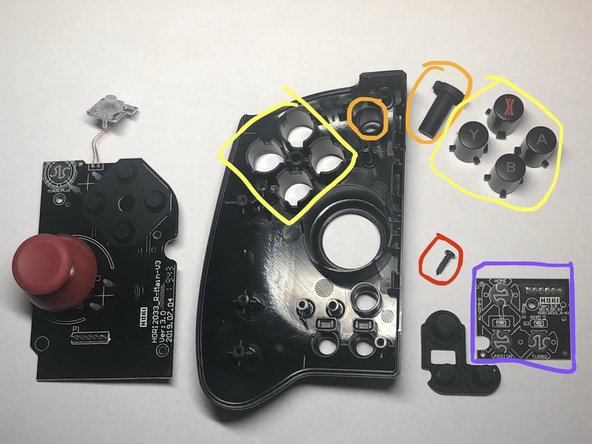
Pull straight up on the top main board and the two boards will disconnect. The connection between them is circled in light-blue. Notice the joystick controller is on the top main board.
-
The bottom board is still secured with one screw.
-
Remove one PH0 screw.
-
Remove the plus (+) button.
-
Remove the X, A, B, & Y buttons.
-
The bottom board can be removed as well as the last rubberized bottom three buttons.
-
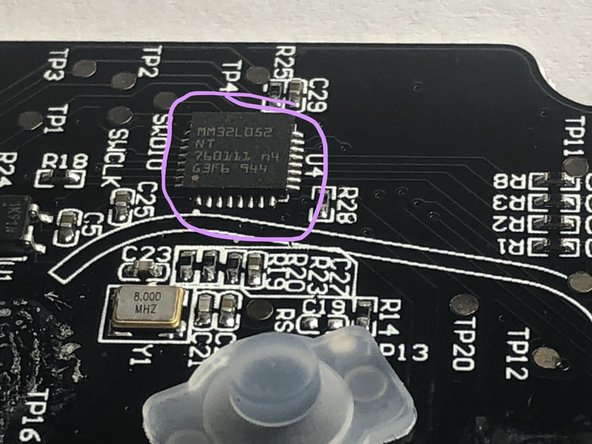
Notice that this top main board has the same processor as the main motherboard of the left controller. It is MM32L052NT which is a ARM Cortex(TM) M0.
crwdns2944171:0crwdnd2944171:0crwdnd2944171:0crwdnd2944171:0crwdne2944171:0