crwdns2935425:016crwdne2935425:0
crwdns2931653:016crwdne2931653:0

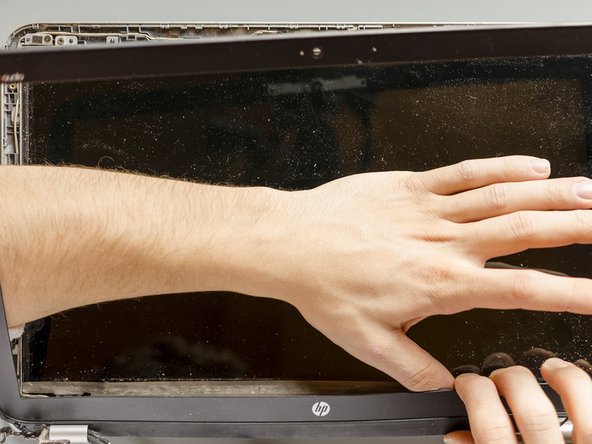
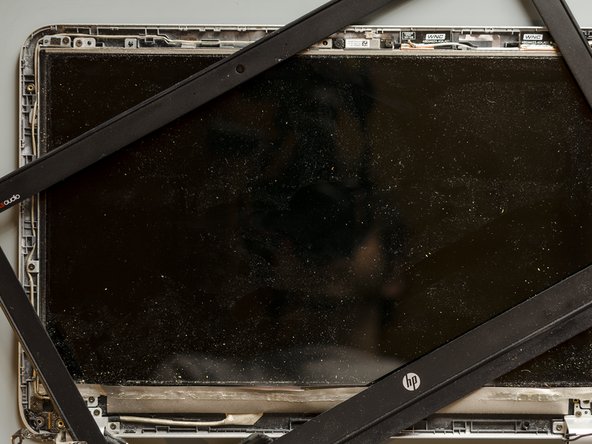


Disassemble the display bezel (2 of 2)
-
There is a thick adhesive stripe that attaches the bottom edge of the bezel to the display panel. Therefore, keeping the bezel tilted up a bit with one hand, detach the tape from the bezel using the other hand trying to leave the adhesive attached to the display. Start from a corner and go slowly along the edge.
crwdns2944171:0crwdnd2944171:0crwdnd2944171:0crwdnd2944171:0crwdne2944171:0