crwdns2935425:010crwdne2935425:0
crwdns2931653:010crwdne2931653:0


D-Pad assembly removal
-
Remove the two screws securing the assembly to the PCB riser
-
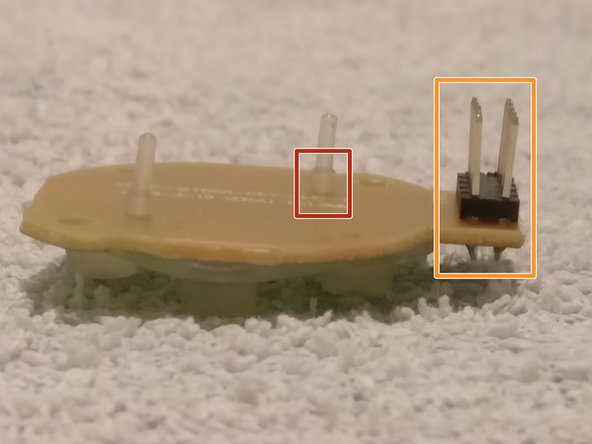
The D-Pad assembly makes electrical connectivity to the main PCB via the orange highlighted connector. To remove, pull D-Pad assembly away from main PCB
-
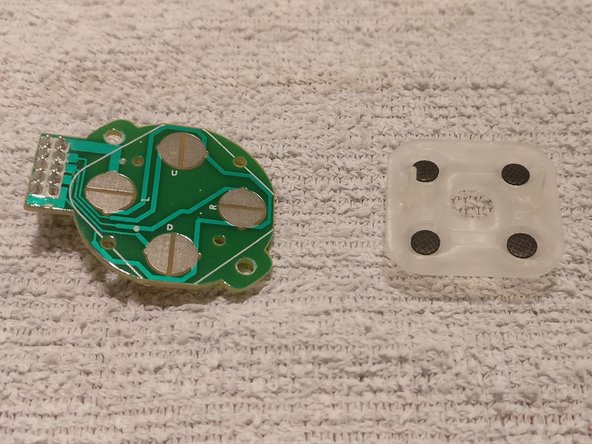
The conductive rubber has been press fitted to the PCB
-
To remove, very gently, as close as possible to the protruding rubber nipple, pull the conductive rubber piece away from the PCB
crwdns2944171:0crwdnd2944171:0crwdnd2944171:0crwdnd2944171:0crwdne2944171:0