crwdns2933423:0crwdne2933423:0

Hyperkin Duke Teardown

crwdns2936315:0crwdne2936315:0
crwdns2936325:0crwdne2936325:0
crwdns2931653:06crwdne2931653:0
Hyperkin Duke Teardown, LCD assembly removal: crwdns2935265:00crwdnd2935265:01crwdnd2935265:03crwdne2935265:0 Hyperkin Duke Teardown, LCD assembly removal: crwdns2935265:00crwdnd2935265:02crwdnd2935265:03crwdne2935265:0 Hyperkin Duke Teardown, LCD assembly removal: crwdns2935265:00crwdnd2935265:03crwdnd2935265:03crwdne2935265:0
LCD assembly removal
  • The highlighted buttons can be slid out and removed

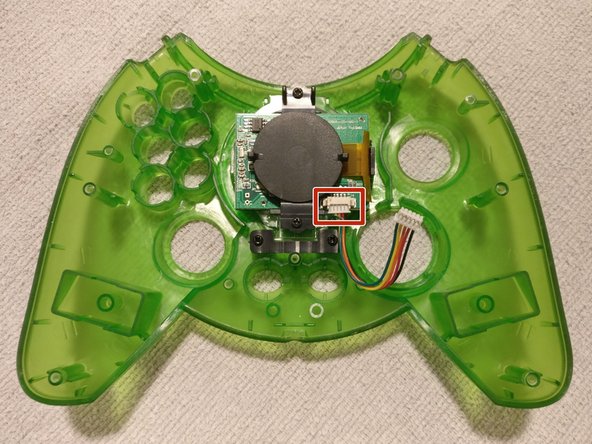
  • Detach the other end of the LCD cable from the LCD PCB connector

  • A small bracket with two screw retains the LCD to the front half of the controller.

  • Remove the two screws and bracket

crwdns2935429:0crwdne2935429:0

crwdns2935429:0crwdne2935429:0

crwdns2935429:0crwdne2935429:0

crwdns2935429:0crwdne2935429:0

crwdns2944171:0crwdnd2944171:0crwdnd2944171:0crwdnd2944171:0crwdne2944171:0